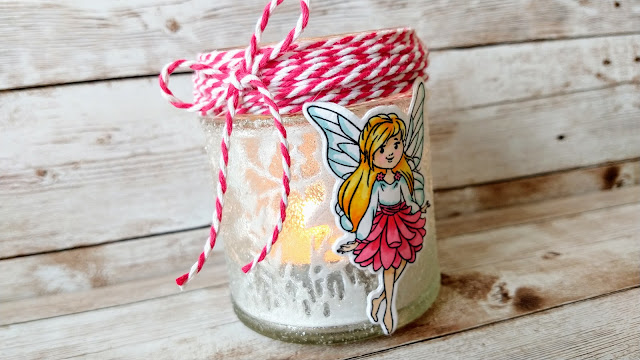
The little fairy stamps and dies in Stamp Club 7 ("I Love You Fairy Much") are not only gorgeous on cards but can also be used to decorate little jars for putting battery powered tea lights inside :)
These are my affiliate links which will take you straight to where you can buy
USA - https://bit.ly/39eqEj6
(Disclosure - http://apassionforcards.blogspot.com/p/how-it-works.html)
To make this you will need the following (all from Tonic Studios)
Stamp Club 7
Nuvo Alcohol Markers
Nuvo Glitter Accents (Fresh Snowfall)
Nuvo Deluxe Adhesive
Craft Perfect Bright White Card
Sponge Dauber
Black ink
Jar
twine
tea light
Lets' get started!
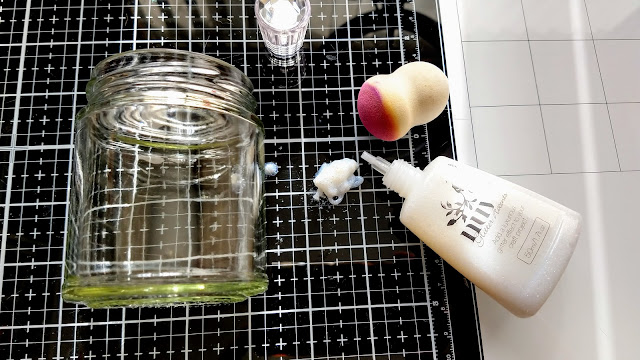
1. Squeeze some Glitter Accents out onto a non porous surface (your glass mat is perfect for this!)
2. Sponge the Glitter Accents all around the outside of the jar and leave to dry.
3. Stamp out the fairy onto white card.
4. Colour the face with Apricot Blush and Delicate Rose. Colour the hair with Lemon Drops, Indian Saffron and Butternut Squash.
5. Colour the skirt with Pink Lady and add Aqua Spray to the top and wings.
6. Die cut.
7. Gently shape the fairy with a bone folder or gently press it around the outside of a narrow bottle.
8. Glue to the outside of the jar with the Deluxe Adhesive.
9. Die cut some grass from along the bottom of the patterned rectangular die. Die cut a long leaf. Repeat so that you have 2 of each (or as many as you need to go around the jar you are using)
10. Shape the grass and leaves with the bone folder.
11. Glue to the inside of the jar.
12. Repeat with the leaves at the top of the die.
13. Glue these around the inside of the jar at the top.
14. Add some glue around the top of the jar and twist several layers of twine around it. Secure at the back with more glue (tacky glue or from a hot glue gun is fine)/. Add a twine bow at one side :). Pop a battery tea light inside and enjoy :)
I've used a different fairy stamp from the set on this little jar and you can see my video on how to make the card here-


No comments:
Post a Comment
Thanks so much for taking the time to leave a comment, it's lovely to hear from you. Ruth