Sunday 27 February 2022

Allsorts Challenge Blog

 Hello :)

If anyone would like to chill out with some colouring, you might like to take a look at this week's Allsorts Challenge Blog

****Hand coloured or Paper Pieced images******

Any theme you choose as long as the focal element of your work incorporates either hand colouring or paper piecing (ready coloured images will not be eligible). 

We have two prizes this week, a lovely Tonic die set from Colman's Craft Warehouse and three images of winners choice from Ruth Hamilton Design.


Lots of the Design Team have made beautiful cards with digi images from my website - https://ruthhamiltondesign.com/
(All the cards below have been made by members of the Allsorts DT)


Wednesday 23 February 2022

5 Ways to Use Your Patterned Paper !! Video


Do you have patterned paper you haven't used because you're not sure what to do with it? Even if you only have a few pads, you may as well use them and enjoy them rather than let them gather dust :)
In this video I'm showing you 5 tips and ideas but I'll be following up with at least one more video as there are so many different ways to use them.
I hope you enjoy this video and breathe new life into your stash!

You can see 5 ideas in my video here -

I hope you enjoy watching :)
Once I clear up my creative space, I'll come back with at least one more video on this theme :)
Enjoy :)


Jardiniere Gift Box (Tonic Studios) #affiliate


Good morning :)

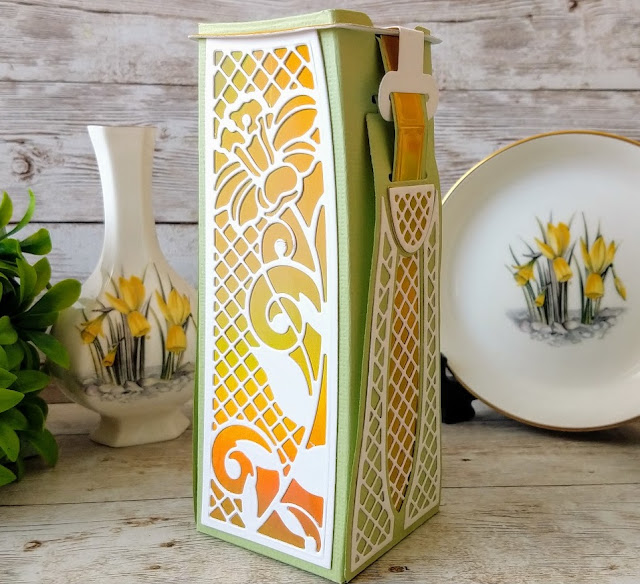
I have another video for you today - the Jardiniere Gift Box which is available from the websites now.

These are my affiliate links if you'd like a look


You can see my video here -

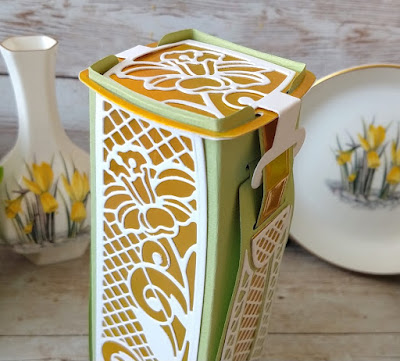
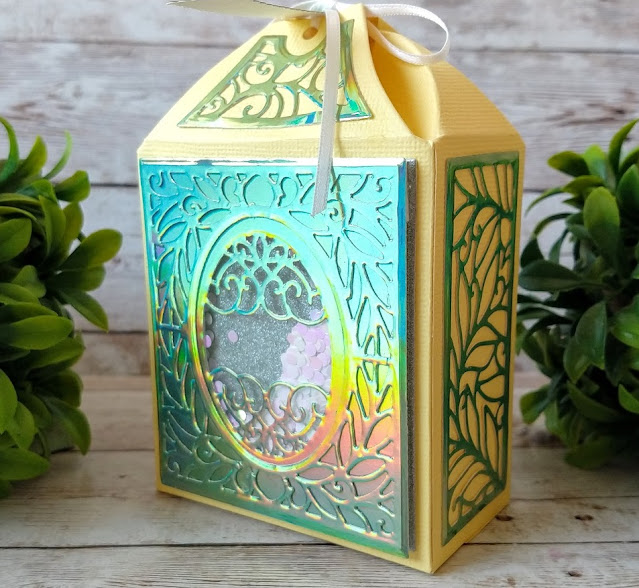
The Jardiniere Gift Box looks amazing when it's made up. I loved both of the decorative panel options but decided to go with the Daffodil for my sample. I wanted a really "Springy" feel to my box so I chose green, white and gorgeous iridescent card. The finished gift bow is 14cm tall and the base measures 5.25cm square.


This is one set of a 2 part launch and you can see the other die set in my video here -
These are my affiliate links to the products I used Jardiniere Gift Box Die Set UK - https://shrsl.com/3e85w USA - https://shrsl.com/3e86k Hamper and Jardiniere Collection (both dies sets together) UK - https://shrsl.com/3e867 USA - https://shrsl.com/3e86b White Smooth Card UK - https://shrsl.com/38hzu USA - https://shrsl.com/38hzz Pistachio Green Card UK - https://shrsl.com/3c4ig USA - https://shrsl.com/3c4io Inca Gold Iridescent Mirror Card UK – https://shrsl.com/3dyz9 USA - https://shrsl.com/3dyzb Nuvo Deluxe adhesive UK – https://shrsl.com/36e5i USA - https://shrsl.com/36e5j Thanks so much for looking :) If you enjoy the video please don't forget to "like" it and subscribe to my channel :) Link to disclosure - http://apassionforcards.blogspot.com/p/how-it-works.html My website : https://ruthhamiltondesign.com/ Blog: https://apassionforcards.blogspot.com/ Happy crafting! Disclaimer: some of the links on some of my videos are "affiliate links", meaning that if you purchase using those links, I receive a small commission but this will not cost you any extra. Please consider using these links when you visit these sites. I earn a small commission at no added cost to you: Tonic Studios UK - https://shrsl.com/35m6e Tonic Studios USA - https://shrsl.com/35m6k Cricut - https://shrsl.com/34xq7 Scrapbook.com - https://shrsl.com/34x4s CraftStash - https://tidd.ly/3gEWCc5


Monday 21 February 2022

Make a Happy Hamper Gift Box! #affiliate


The Happy Hamper Gift Box die set makes the most beautifully shaped gift box that I've seen in a while! Even the name made me smile :) I thought I just had to make this in bright, cheerful colours and top it off with a butterfly.

This die set is one part of a two set launch and you can see my video of the other set here - 

You can buy both sets together with a discount

Hamper and Jardiniere Collection

UK - https://shrsl.com/3e867

USA - https://shrsl.com/3e86b


I have also got a video showing how to make a slightly different hamper

The finished box measures 12cm wide, 9.5cm deep and 7cm tall.

To make one like mine you will need the following Tonic Studios products: (with affiliate links where applicable)

Happy Hamper Gift Box die set

                                                            USA – https://shrsl.com/3e85z

Craft Perfect A4 card - Ivory White and Clementine Orange

Craft Perfect Mariposa Moments 12 x 12 paper pack

Nuvo Deluxe Adhesive

Craft Perfect Crafters Ribbon, Ivory White Double Satin 9mm and 3mm

Nuvo Crystal Glaze

To make it - 
Die set


There are instructions inside the packet.


1. Die cut 2 of the outer dies and 2 strap dies from ivory card.


2. Glue the bases together.


3. Glue the straps onto the tabs on the bases.


4. Using the outer dies and inner detail dies shown, make the decorative panels for the front bac and sides. You will need 2 of each.


5. Glue the panels in place.


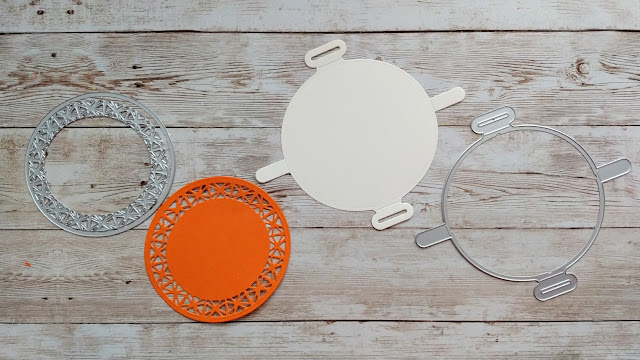
6. Cut out the lid shape from ivory card and use the 2 dies shown to make the orange panel. When cutting the orange panel, line up the little notches on the outer and inner dies.


7. Glue the orange die cut onto the lid. 


8. Bend the side panels together, line up the slits and fold the long tabs in through.


9. Add glue on the tab shown and adhere to the inside of the side panel.


10. Fold the little tabs through the slits at the front and back.

THERE ARE DIFFERENT OPTIONS FOR THE HANDLES

If you are not adding a handle you can follow the next 3 steps 

A. Thread the long tab up through the slit on the lid.


B. Fold the tab backwards.


C. Thread back into the slit in the side panel.

To add the ribbon handle - 

A. Die cut 2 ivory tabs with slits and glue the slit parts of both onto the corresponding slit on the lid.


B. Thread ribbon through the slits. Tie in and know and bow.


11. Cut out 3 butterflies from the paper pack.


12. Die cut the fancy shaped oval from ivory card. On one of the butterflies, snip in between the wings at the bottom.


13. Glue the oval onto the lid. Fold back the butterfly's wings and glue the body to the oval.


14. Die cut 2 orange "bead" dies.


15. Spread glue along the length of the die cut leaving a little gap at the top (wide end)


16. Use a skewer or knitting needle to roll up the bead. It is important to keep the paper central as you roll to ensure the bead is symmetrical.


17. Leaving the bead on the needle, coat with Crystal Glaze and leave propped up to dry.


18. Attach the beads to the side of the handle with a loop of ribbon.


Sunday 20 February 2022

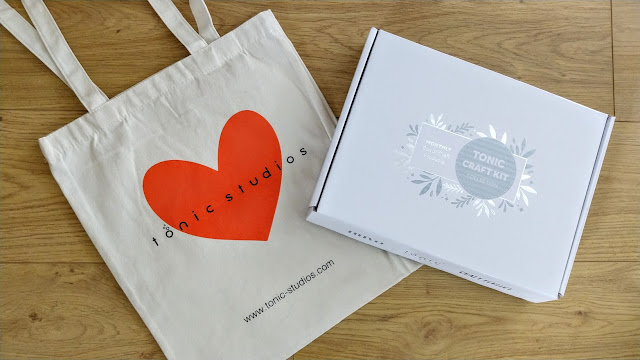
Tonic Studios Craft Kit - Delicate Decor Gift Box ( with fab new TOTE BAG!!) #affiliate


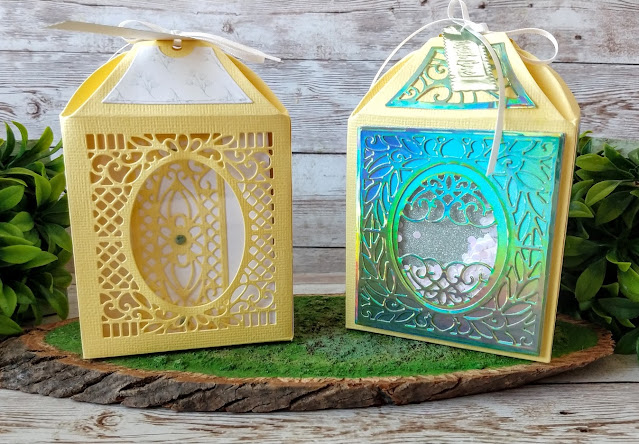
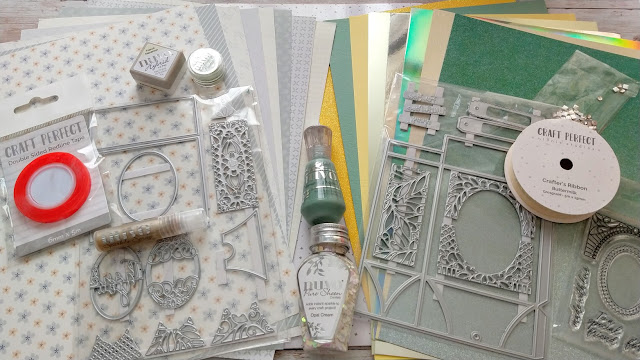
Hello again :) Today I'm sharing the latest Craft Kit from Tonic Studios with you. At the start of the video I have shared the unboxing and then I move on to show you lots of ideas for using the kit.
The colours this time are what I would describe as Spring greens :) Think of daffodils and primroses and you are on the right lines.
The little gift box is incredibly simple to make and there are different ways you can use the dies etc to decorate it. I show you how to make a little shaker on one and how to make little cards to go inside the other.
Don't forget that you can make something totally different by substituting the card with different colours and you could also make cards instead of a box!
These are my affiliate links to the kit

You can see my video here - 


and the Tote bag video (as it was late being delivered to me) here


Thursday 17 February 2022

Scenic Sentiments Showcase from Tonic Studios #affiliate

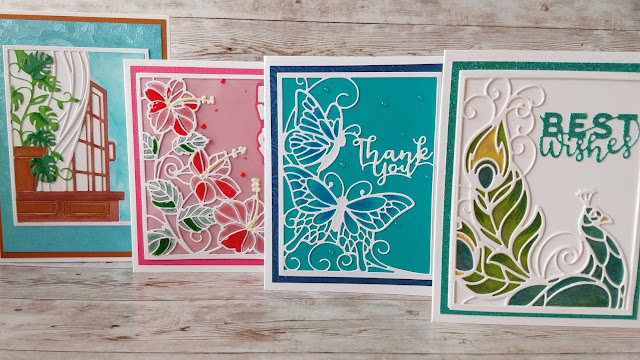
These are 4 different cards which I made with the Scenic Sentiments Showcase die set.
If you'd like to check this set out, these are my affiliate links


The Scenic Sentiments Showcase die set contains 25 dies in total. There is a 9.75cm x 12.75cm rectangle die and 4 different "scenes" which fit inside it. 
 

     You will need to use the rectangle with the scene dies to cut out the shapes above. The die cuts are 
          a) 2 butterflies b) an open window with a tropical plant on a window ledge c) a peacock and                                                                               d) hibiscus flowers.  

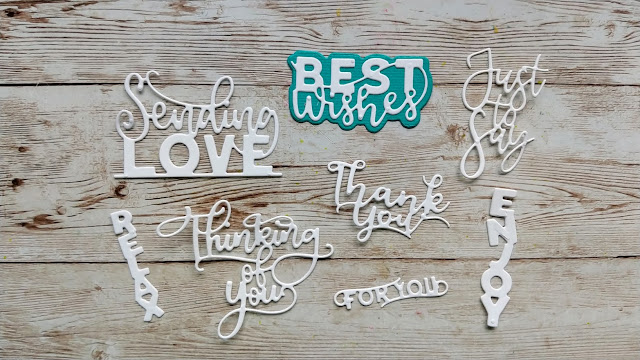
There are also 8 different sentiment dies with all have backing plates. 


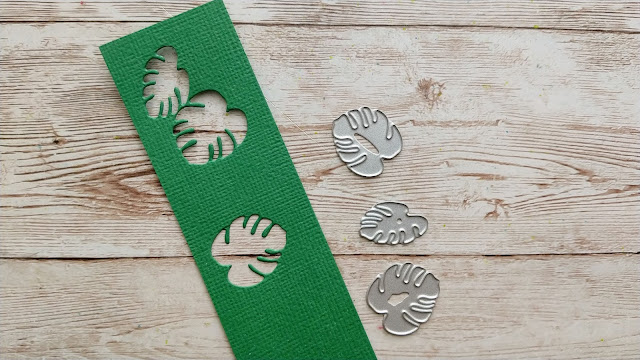
There are also 3 leaves which match the window scene and a single hibiscus flower which can be used with the spray of hibiscus flowers.


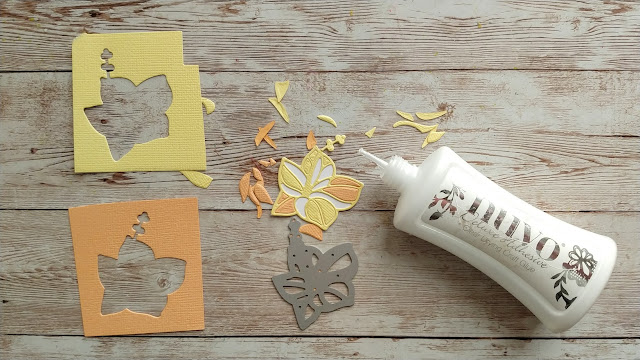
All of the scene die cuts can be paper pieced. You can also paper piece the single hibiscus flower and this can be done in a single colour or, as I have done here, you can add complementary shades. Nuvo Deluxe Adhesive is great for this job! I have glued the flower onto a piece of white card and cut around it first but you could add it straight to your card and paper piece there.


There are so many different ways of using this set that the only limit is your imagination. I have  cut out all my shapes from white card but obviously they can be cut in any colour you prefer and would look very dramatic in black!

One way to use these would be to paper piece them and use different colours of card to fit back into the areas which have been removed. I've steered away from this more obvious use to give you some different examples and ideas.


I fell in love with this peacock as soon as I opened the packet and knew I had to make it sparkle!
I glued the die onto a white rectangle and sprayed some Sparkle Spray into a container and used  a fine Nuvo paint brush to pick up the colours and colour the peacock. You really need to see this one in real life to get the full bling effect! I added a second white die cut over the top to keep the outline crisp and clean.
You can see how I did this and also the card below in my video here - 


Another way to make a card with the set is to add some colour and depth with Nuvo pencils. In this example I have layered the butterfly die cut onto Ocean Blue card and then added shading into the wings with True Blue and Scuba Blue Classic Colouring Pencils. This is a much quicker way to make a card than the previous one. Just add matching card and Morning Dew Crystal Drops to make your card pop!


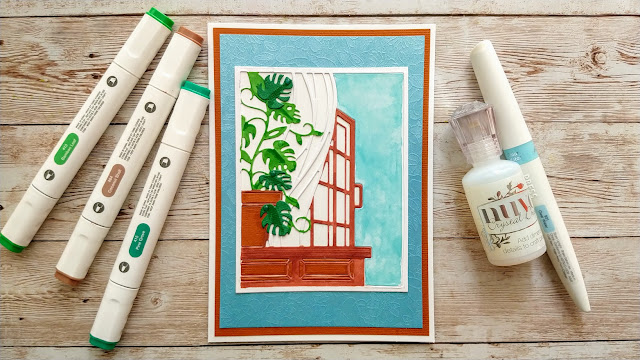
The die cuts don't have to be left plain white and in this example I have coloured the window and plant with Nuvo alcohol markers.

It's a good idea to reserve the larger "waste" parts from the right sides of the die cuts as you can colour these in different ways and glue them back into place.


I've also paper pieced some of the other pieces back into this die cut but left some open. Don't be afraid to mix and match! 


You could use many different mediums such as watercolour pencils, shimmer powder. mousse etc but I have used the Clear Water Aqua Flow pen to colour the sky in the window scene above and then smudged it slightly with a paper towel to give a cloudy effect.

I have also used the extra leaf dies to add some more detail onto the plant and I've added some shading to these with the Pine Grove Nuvo Alcohol Marker.


The Hibiscus flower scene die cut can be used in many different ways, not least paper pieced! This would be perfect for adding different depths of the same colour back into the flower heads to make them pop! 
For my example I have coloured the back of the petals and leaves with red and green Classic Colouring pencils and then glued the die cut onto vellum. Because vellum has a very translucent quality, I wanted to add more punch so I added some Crystal Drops into random petals and leaves and some Buttermilk Crystal Drops onto the styles and anthers of the flowers.

I'm sure there are many more ways in which you could use these dies!
Enjoy! :)