

The new Tonic Studios Kensington Hand Bag/ Gift Box die set is really versatile and can be used to make lots of different variations from wedding favour boxes to little gift bags and many more in between.
I've used it to make a little gift bag with handles and a buckle and I've made a tutorial below to show you how it's done :)
You will need:
Tonic Studios Kensington Hand Bag /Gift Bag die set
Tonic Studios Essential Card Pack - Natural Neutrals
Tonic Studios Metallic Satin Mirror Card
Tonic Studios Funky Glue
Embossing folder (I've used an older Cuttlebug folder "Mesh" but there are many similar folders around)
Tonic Studios Nuvo Embellishment Mousse - Mother of Pearl
3D foam squares
die cutting machine

1. Die cut two of the outer bag shaped dies from brown card.

2. Die cut two of the sides in cream card and fold along the debossed lines as shown.

3. Die cut two each of the dies shown above - to decorate the outside front of the handbag.

4. Emboss these pieces with your chosen folder.

5. Using a soft cloth or a piece of kitchen roll, lightly rub some of the Embellishment Mousse over the embossed surfaces and gently buff. Take care to get an even coverage for best results.

6. Attach the embossed pieces to the bag front and back with Funky Glue.

7. Glue the cream sides to the inside of the bag front.

8. Glue the base of the back over the cream tabs.

9. Glue the back to the tabs of the side die cuts.

10. Die cut 2 handles from brown card and 2 gold ovals for each side (ie 4 gold ovals in total)
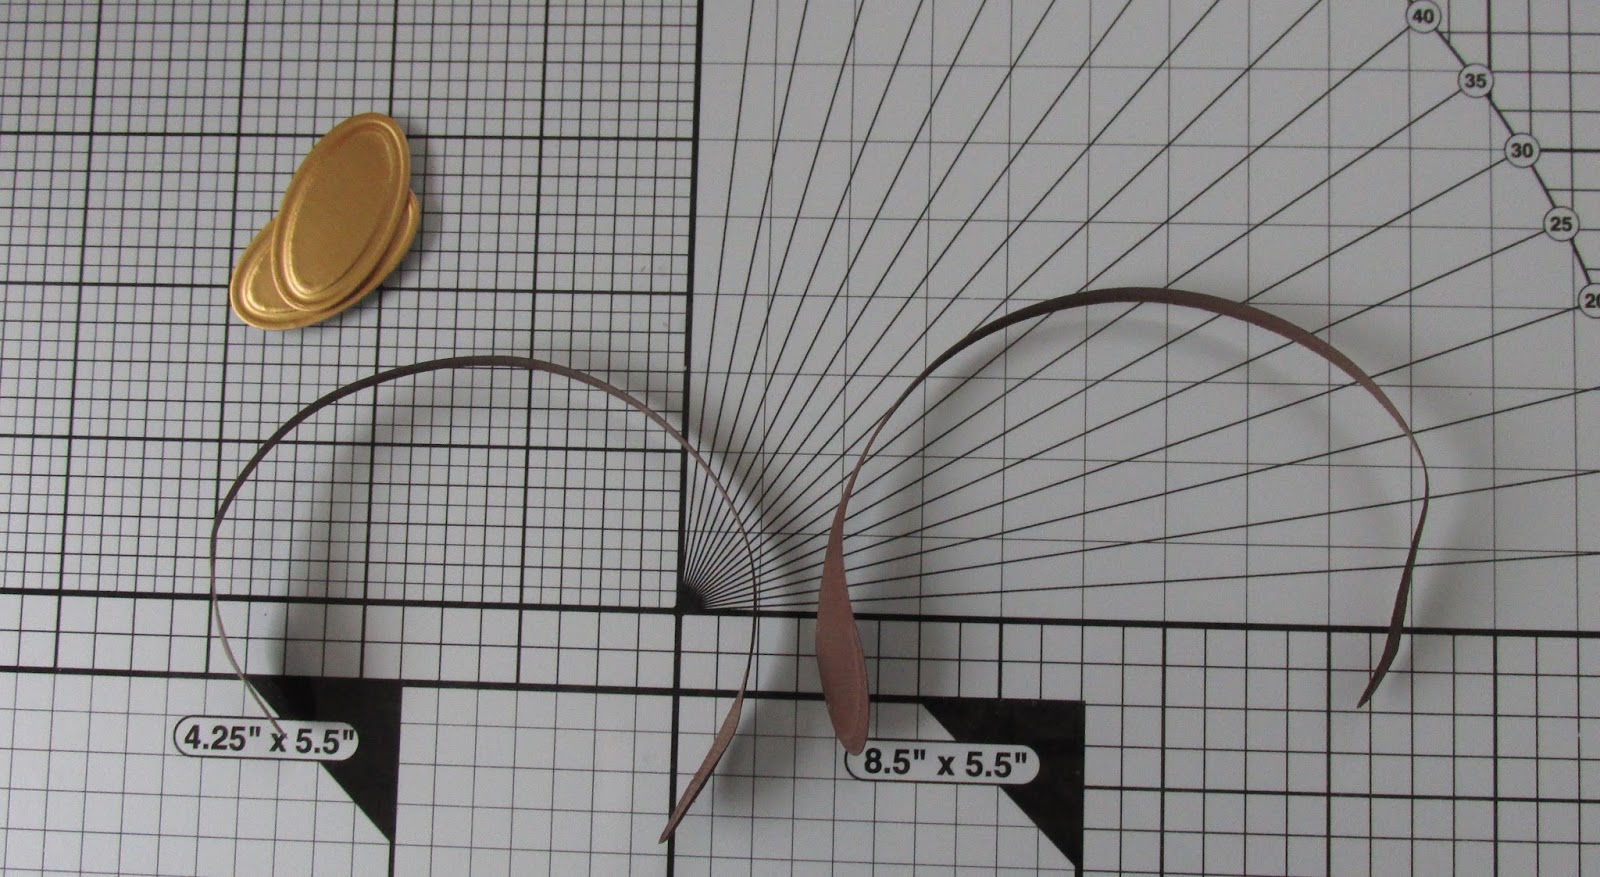
11. Lightly "shape" the handles between your finger and thumb.

12. Glue the ovals to the front and back of the bag and then add the handles on top.

13. Cut out a gold "buckle" and add a narrow strip of gold card across the centre.

14. Glue a 13cm x 0.75cm strip of cream card on top of a 13cm x 1.25cm strip of brown card and cut a point at the tip.

14. Glue the straight end to the back of the bag.

15. Attach the buckle to the bag front with 3D foam squares ( cut these in half to fit).

Enjoy!
oooh this is gorgeous must check Fagans Mullingar for these dies. Ger x
ReplyDeleteBeautiful bag. One of my friends has one set but not that one. Equally nice though. Turned out beautiful.
ReplyDeleteI love this bag....what size would it be finished? I want to make some gift bags that are different and this seems to fit the bill....I am currently working with the Kanban Handbags, but they don't have a die, so I am much more interested in these....Your tutorial looks very easy to follow...thank you so much for posting.
ReplyDeleteJust stunning. Tonic is catching on here in the States and gaining some momentum
ReplyDelete