Sunday, 19 June 2022

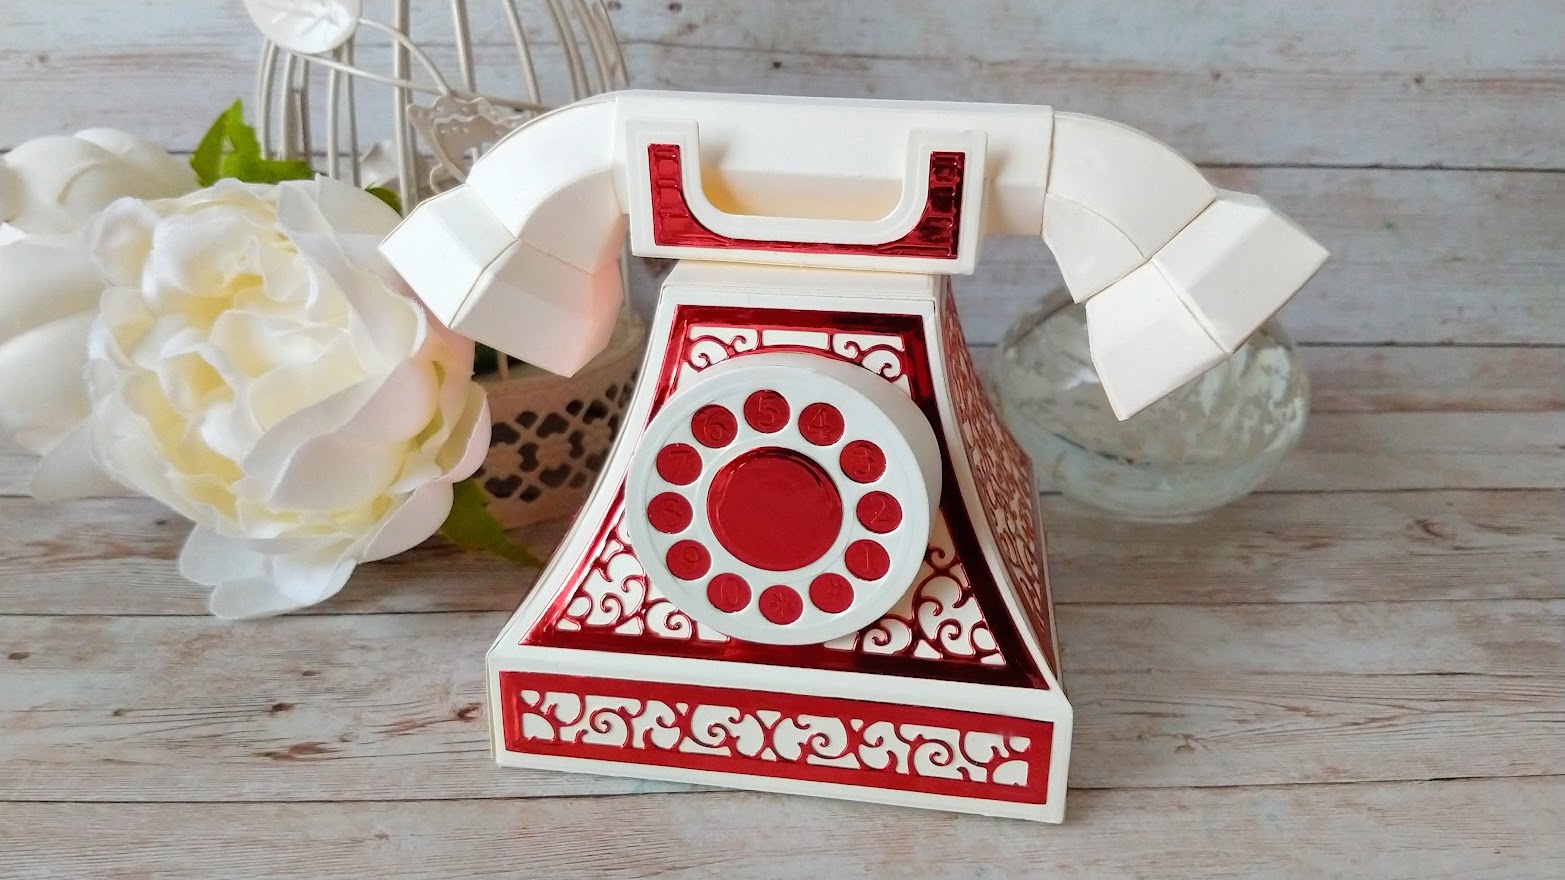
Hello........! Vintage Telephone (plus video) #affiliate


My Vintage Telephone video is up at last...Nicco is waiting on the line to answer your calls lol 
I've had this die set for a few weeks and have only just got around to trying it out. I wish I had made it sooner because it looks beautiful on my craft shelf. I have taken my time to show you every step of construction and it's really easy. You can let me know in the comment section below the video, what you think and what colours you would use for your telephone. Nicco is back on screen today as several of you asked to see him again :)
You can see the video here 

In this video I have used the following Tonic Studios products (affiliate links) Vintage Telephone die set UK - https://shrsl.com/3koui USA - https://shrsl.com/3kouv The Telephone die set and stamp set are available as as bundle UK - https://shrsl.com/3kov9 USA - https://shrsl.com/3kov2 TANGERINE A4 Die Cutting Machine and Plates UK - https://shrsl.com/3ctw7 USA - https://shrsl.com/3ctwc Ivory Smooth Card UK – https://shrsl.com/3kovn USA - https://shrsl.com/3kovr Opera Red Mirror Card UK – https://shrsl.com/3kow3 USA - https://shrsl.com/3kovz Nuvo Deluxe adhesive UK – https://shrsl.com/36e5i USA - https://shrsl.com/36e5j Thanks so much for looking :) If you enjoy the video please don't forget to "like" it and subscribe to my channel :) Link to disclosure - http://apassionforcards.blogspot.com/p/how-it-works.html My website : https://ruthhamiltondesign.com/ Blog: https://apassionforcards.blogspot.com/ Facebook: https://www.facebook.com/ruth.hamilton.31105/ Instagram: https://www.instagram.com/ruthhamilton7243/ Instagram: https://www.instagram.com/ruthhamiltondesigndigiimages/ Pinterest : https://www.pinterest.co.uk/passionforcards/ Happy crafting! Disclaimer: some of the links on some of my videos are "affiliate links", meaning that if you purchase using those links, I receive a small commission but this will not cost you any extra. Please consider using these links when you visit these sites. I earn a small commission at no added cost to you: Tonic Studios UK - https://shrsl.com/35m6e Tonic Studios USA - https://shrsl.com/35m6k Cricut - https://shrsl.com/34xq7 Scrapbook.com - https://shrsl.com/34x4s CraftStash - https://tidd.ly/3gEWCc5


Allsorts Challenge - Summer Flowers

This is just the perfect them for the latest challenge on the Allsorts blog. Summer Flowers!!
This week you can win a Floral stamp from Lisa Horton or 3 digi images from my website
I used my Cosmos image and coloured it with alcohol markers and kept it pretty clean and simple :)
Why not pop over to the Challenge Blog and join in! You'll see lots of other beautiful cards from the Design Team which just might inspire you to go for it :)


Thursday, 16 June 2022

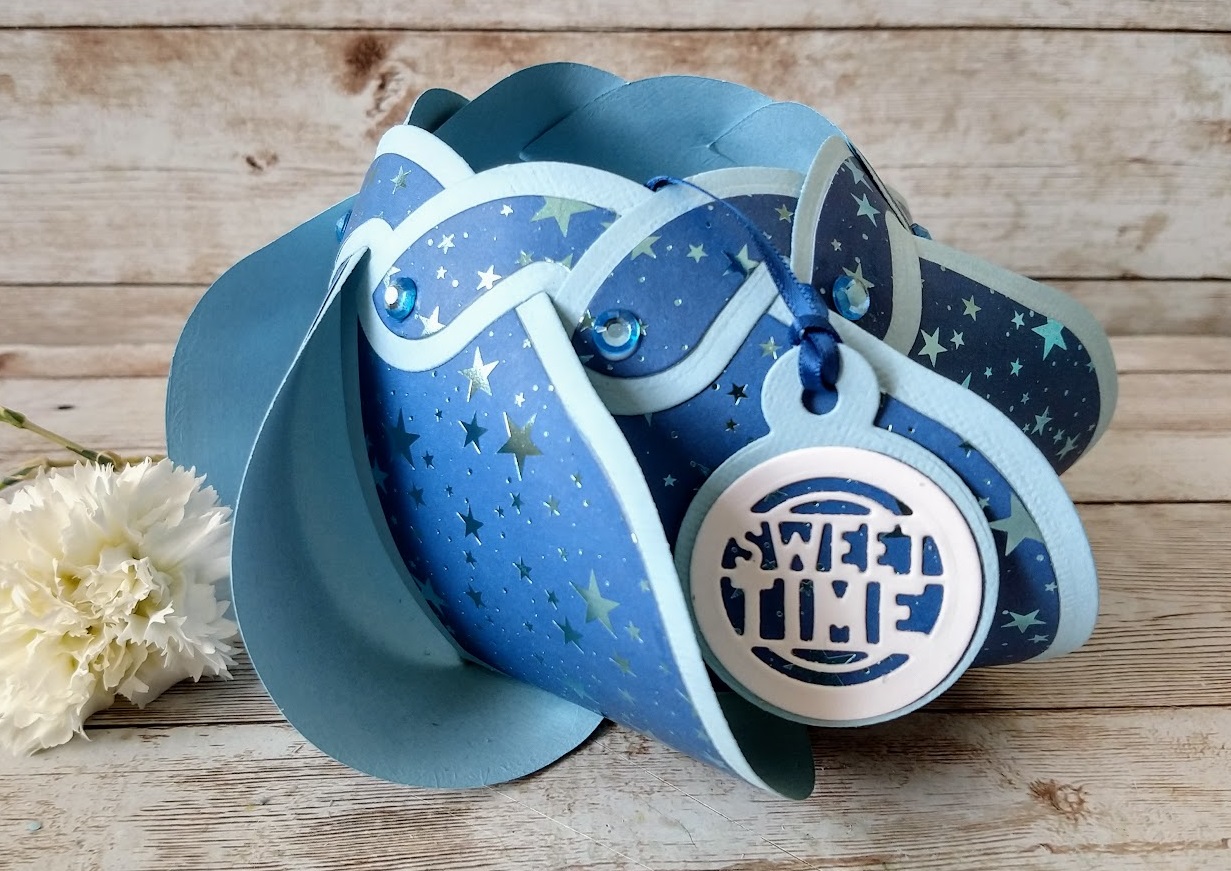
Make a Terrific Twist Gift Basket #affiliate


The Terrific Twist die set has just been released by Tonic Studios!!
It's so simple to use and you can create 2 different sizes of gift basket with it.

These are my affiliate links to the set

                                                           USA - https://shrsl.com/3klfd


I show you how to make the blue and navy basket in my video here- 
and explain along the way how I made the other two.


I hope you enjoy this :)

I have used the following (affiliate links)
Terrific Twist die set

                                                             UK – https://shrsl.com/3klfa

USA - https://shrsl.com/3klfd

TANGERINE A4 Die Cutting Machine and Plates UK - https://shrsl.com/3ctw7 USA - https://shrsl.com/3ctwc Nuvo Deluxe adhesive UK – https://shrsl.com/36e5i USA - https://shrsl.com/36e5j Classic Card (arctic Blue and Pistachio Green) UK – https://shrsl.com/38llc USA - https://shrsl.com/38lln Craft Perfect Ribon, Navy Blazer 3mm UK - https://shrsl.com/3kh9p USA - https://shrsl.com/3kh9s Thanks so much for looking :) If you enjoy the video please don't forget to "like" it and subscribe to my channel :) Link to disclosure - http://apassionforcards.blogspot.com/p/how-it-works.html My website : https://ruthhamiltondesign.com/ Blog: https://apassionforcards.blogspot.com/ Facebook: https://www.facebook.com/ruth.hamilton.31105/ Instagram: https://www.instagram.com/ruthhamilton7243/ Instagram: https://www.instagram.com/ruthhamiltondesigndigiimages/ Pinterest : https://www.pinterest.co.uk/passionforcards/ Happy crafting! Disclaimer: some of the links on some of my videos are "affiliate links", meaning that if you purchase using those links, I receive a small commission but this will not cost you any extra. Please consider using these links when you visit these sites. I earn a small commission at no added cost to you: Tonic Studios UK - https://shrsl.com/35m6e Tonic Studios USA - https://shrsl.com/35m6k Cricut - https://shrsl.com/34xq7 Scrapbook.com - https://shrsl.com/34x4s CraftStash - https://tidd.ly/3gEWCc5


Wednesday, 8 June 2022

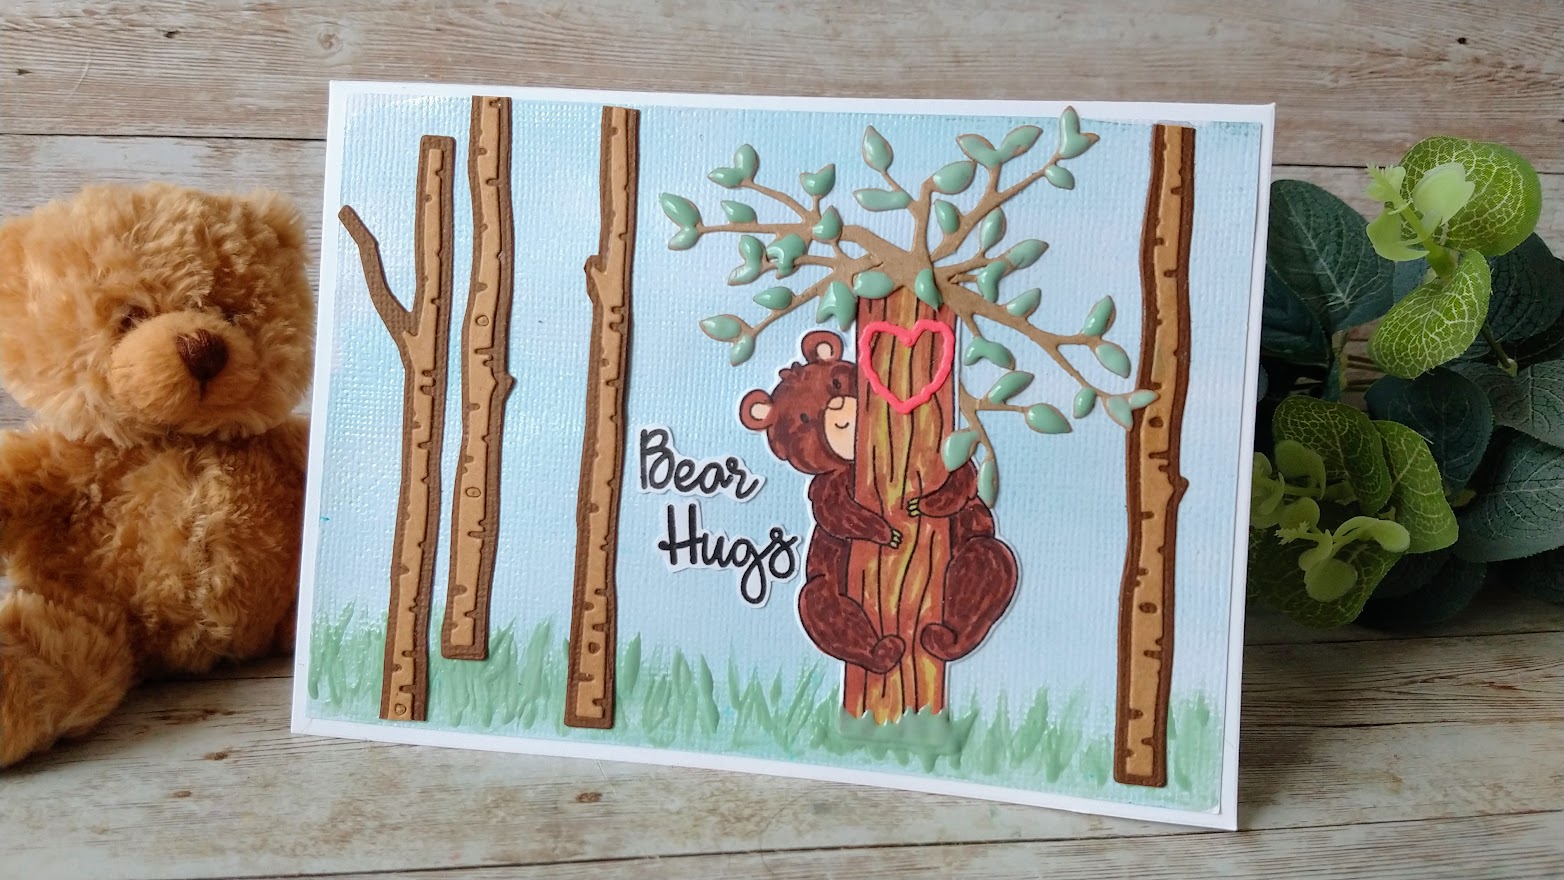
Hungry Honey Bears Stamp Club (Tonic Studios) #affiliate

I hope everyone is keeping well :)

I have a new video showing the Hungry Honey Bears Stamp Club which I hope you'll like.


Thanks so much for looking

These are my affiliate links to the Hungry Honey Bears Stamp Club


Friday, 3 June 2022

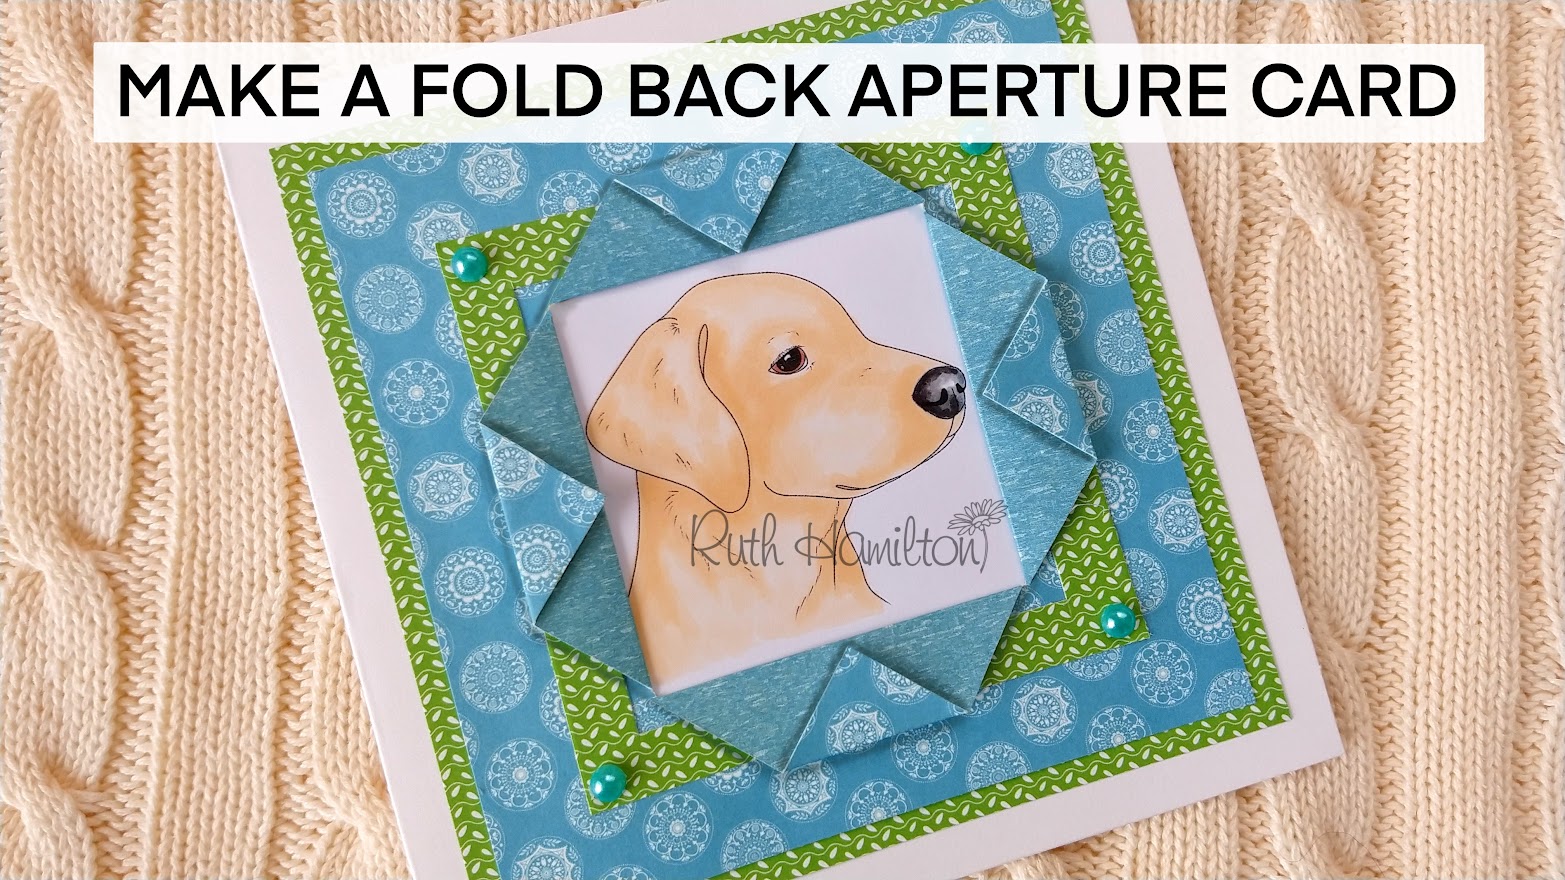
Fold Back Aperture Card video #ad


 Good morning. I have a new Friday video (I just published it early because I felt like it lol) You can see it here -


In this video I'm showing you how to use layers and frames of patterned paper to easily create a folded back aperture card. You will only need 2 squares of patterned paper! (one measuring 13.5cm x 13.5cm and the other measuring 12.5cm x 12.5cm)
You don't need any special tools or products as you can adapt this to suit whatever you already have. The only thing you need to remember is to use double sided paper for the actual folded part. You can use a craft knife to cut the paper and a topper or stamped image inside the aperture. You can then add whatever other embellishments you like :) You can see my blog post with photos showing an earlier version of this card here - https://apassionforcards.blogspot.com... If you're interested in the products I have used, these are my affiliate links etc to where you can find some of them.. Labrador Digi image - https://ruthhamiltondesign.com/produc... from Ruth Hamilton Design - https://ruthhamiltondesign.com/ SUPER TRIMMER UK - https://shrsl.com/3ccf2 USA - https://shrsl.com/3ccf5 Nuvo Deluxe adhesive UK – https://shrsl.com/36e5i USA - https://shrsl.com/36e5j Thanks so much for looking :) If you enjoy the video please don't forget to "like" it and subscribe to my channel :) Link to disclosure - http://apassionforcards.blogspot.com/... My website : https://ruthhamiltondesign.com/ Blog: https://apassionforcards.blogspot.com/ Facebook: https://www.facebook.com/ruth.hamilto... Instagram: https://www.instagram.com/ruthhamilto... Instagram: https://www.instagram.com/ruthhamilto... Pinterest : https://www.pinterest.co.uk/passionfo... Happy crafting! Disclaimer: some of the links on some of my videos are "affiliate links", meaning that if you purchase using those links, I receive a small commission but this will not cost you any extra. Please consider using these links when you visit these sites. I earn a small commission at no added cost to you: Tonic Studios UK - https://shrsl.com/35m6e Tonic Studios USA - https://shrsl.com/35m6k Cricut - https://shrsl.com/34xq7 Scrapbook.com - https://shrsl.com/34x4s CraftStash - https://tidd.ly/3gEWCc5


Thursday, 2 June 2022

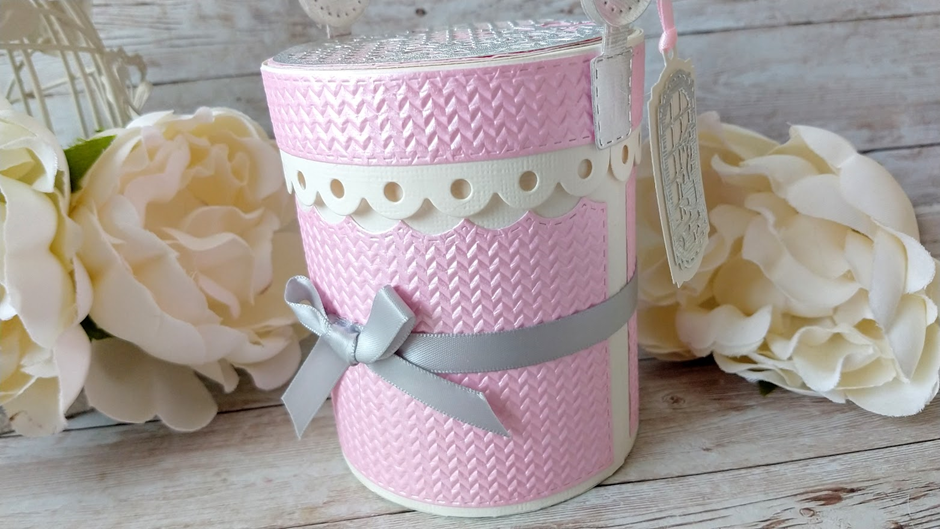
Make an Elegant Ascot Gift Box #affiliate


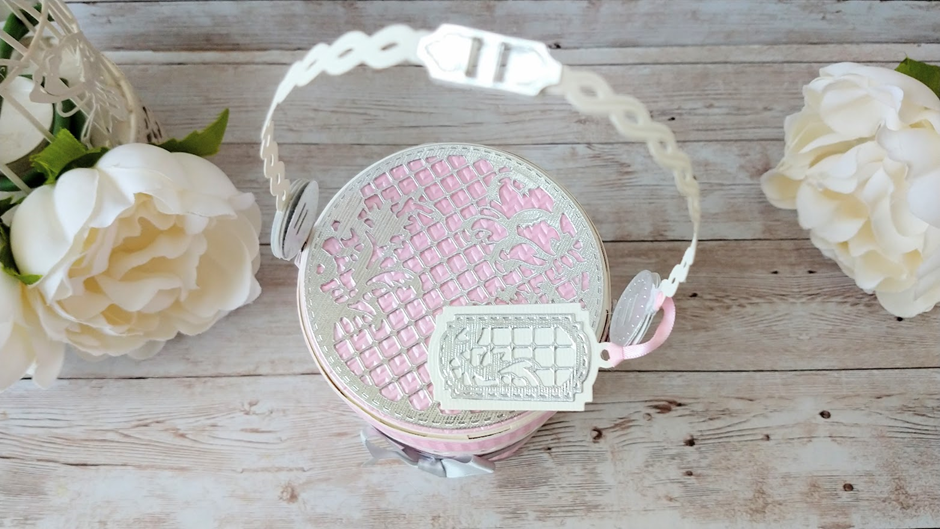
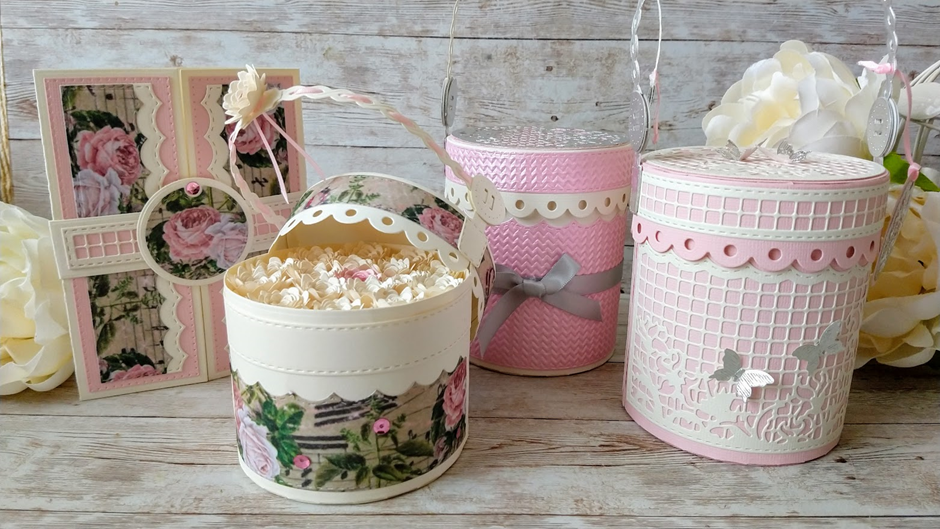
The beautiful Elegant Ascot Showcase die set contains 35 dies which you can use to create a gorgeous hat-box inspired gift box.

These are my affiliate links to the set


You can see my video here 

where I show you how to make a different box and explain how some of the dies can be used for making cards


To make this gift box you’ll need the following Tonic products

Elegant Ascot Gift Box de set

Craft Perfect Classic Card, Ivory

Craft Perfect Smooth Card, Ivory (for handles)

Craft Perfect Speciality Paper, Marshmallow Pink

Silver Mirror Card

Nuvo Deluxe Adhesive

Craft Perfect Ribbon, Glacier grey 9mm and Sweet Pink 3mm

Tangerine Die Cutting Machine


Let’s get started!

1. Die cut 2 large circles and 3 smaller circles from ivory card and a smaller circle from Marshmallow Pink Paper.


2. Die cut 2 ivory lid skirts, 2 ivory lid tabs and 2 Marshmallow Pink Stitched Strips.


3. Fold in the side tabs on both of the lid tab dies, add glue and attach to one of the large circles. Align the score lines at the ends of the tabs and attach the second tab in the same way.


4. Glue the second large circle on top to cover the glue tabs


5. Glue the pink paper to the lid skirts and shape with a bone folder.


6. Glue these to the lid tabs.


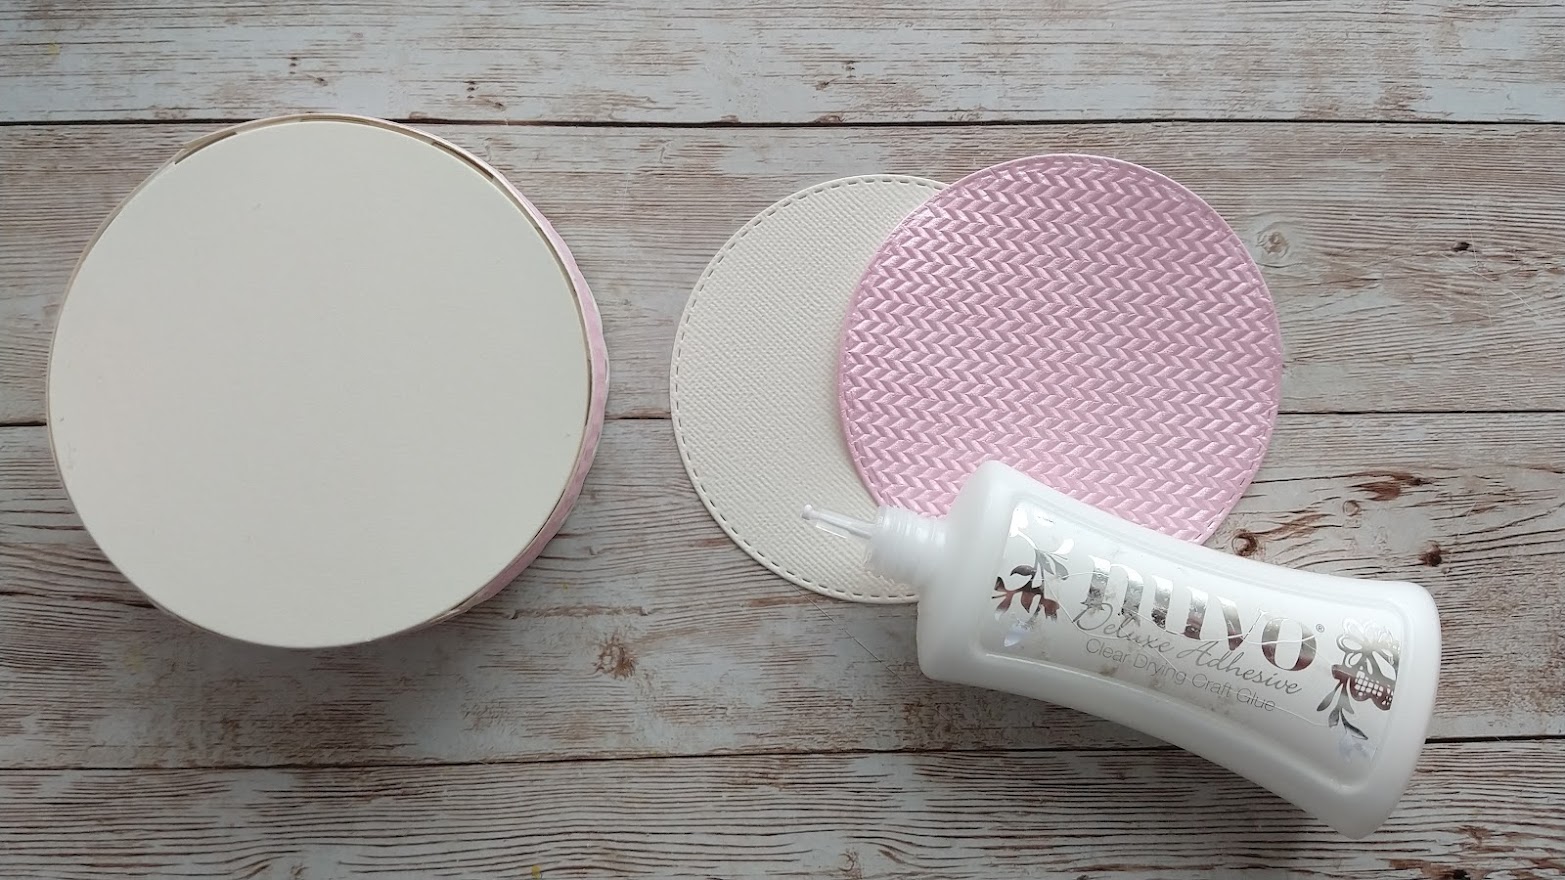
7. Glue the pink circle to a small ivory circle. 


8. Glue this to the top of the lid.


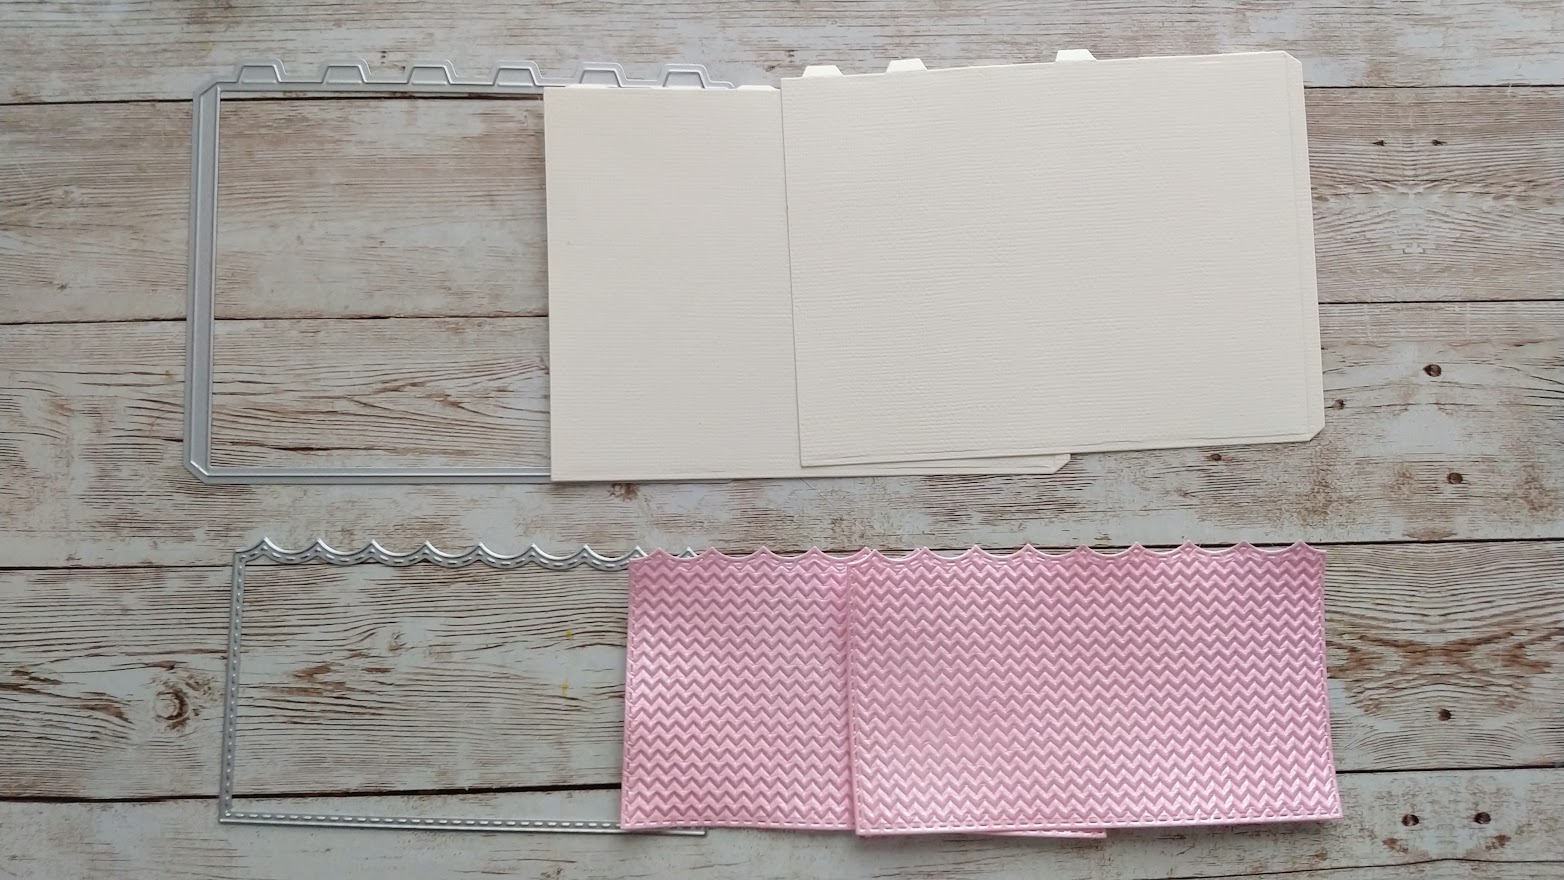
9. Die cut 2 large side panels from ivory card and 2 pink decorative panels.


10. Glue these together and shape with a bone folder.


11. Attach these to a small ivory circle in the same way as you made the lid.


12. Cut 2 ivory stitched strips and glue around the top of the gift box.


13. Glue a smaller ivory circle to the base of the box to cover the glue tabs.


14. Die cut 2 handles from the ivory smooth card, and 3 strap joins from silver card.


15. Attach the 2 handle die cuts together by folding the tabs at one end of each through the strap join.


16. Fold the tabs back and glue in place.


17. Glue a strap join on the back to cover the glue tabs. Glue the other one on the front.


18. Die cut 8 Handle Swivels, 6 Handle axles and 4 Handle Clasps.


19. Glue 3 handle axles together and then glue onto a handle swivel, aligning the slits. Repeat.


20. Glue 2 handle clasps together. Repeat.


21. Place a handle clasp on top and add glue to the top of the axle (NB not on the handle clasp)


22. Glue another handle clasp on top.


23. Fold back the tab at one end of the handle and glue into the handle clasp.

Repeat. Glue the remaining handle clasps on the back and front of the others as before to cover the glue tabs on the handle.


24. This is how the handle should look now.


25. Glue the handle clasps to each side of the lid.


26. Use the small circle die with the patterned die to cut out a patterned circle and glue to the lid of the box.


27. Wrap a length of ribbon around the gift box and glue a bow on top.


28. Use the dies shown to die cut a tag and attach to the handle with pink ribbon.


28. Use the dies shown to die cut a tag and attach to the handle with pink ribbon.