

You can see my video here
where I show you how to make a
different box and explain how some of the dies can be used for making cards
To make this gift box you’ll need the
following Tonic products
Elegant Ascot Gift Box de set
Craft Perfect Classic Card, Ivory
Craft Perfect Smooth Card, Ivory (for
handles)
Craft Perfect Speciality Paper, Marshmallow
Pink
Silver Mirror Card
Nuvo Deluxe Adhesive
Craft Perfect Ribbon, Glacier grey
9mm and Sweet Pink 3mm
Tangerine Die Cutting Machine

Let’s get started!

1. Die cut 2 large circles and 3
smaller circles from ivory card and a smaller circle from Marshmallow Pink
Paper.

2. Die cut 2 ivory lid skirts, 2
ivory lid tabs and 2 Marshmallow Pink Stitched Strips.

3. Fold in the side tabs on both of
the lid tab dies, add glue and attach to one of the large circles. Align the
score lines at the ends of the tabs and attach the second tab in the same way.


5. Glue the pink paper to the lid
skirts and shape with a bone folder.

6. Glue these to the lid tabs.
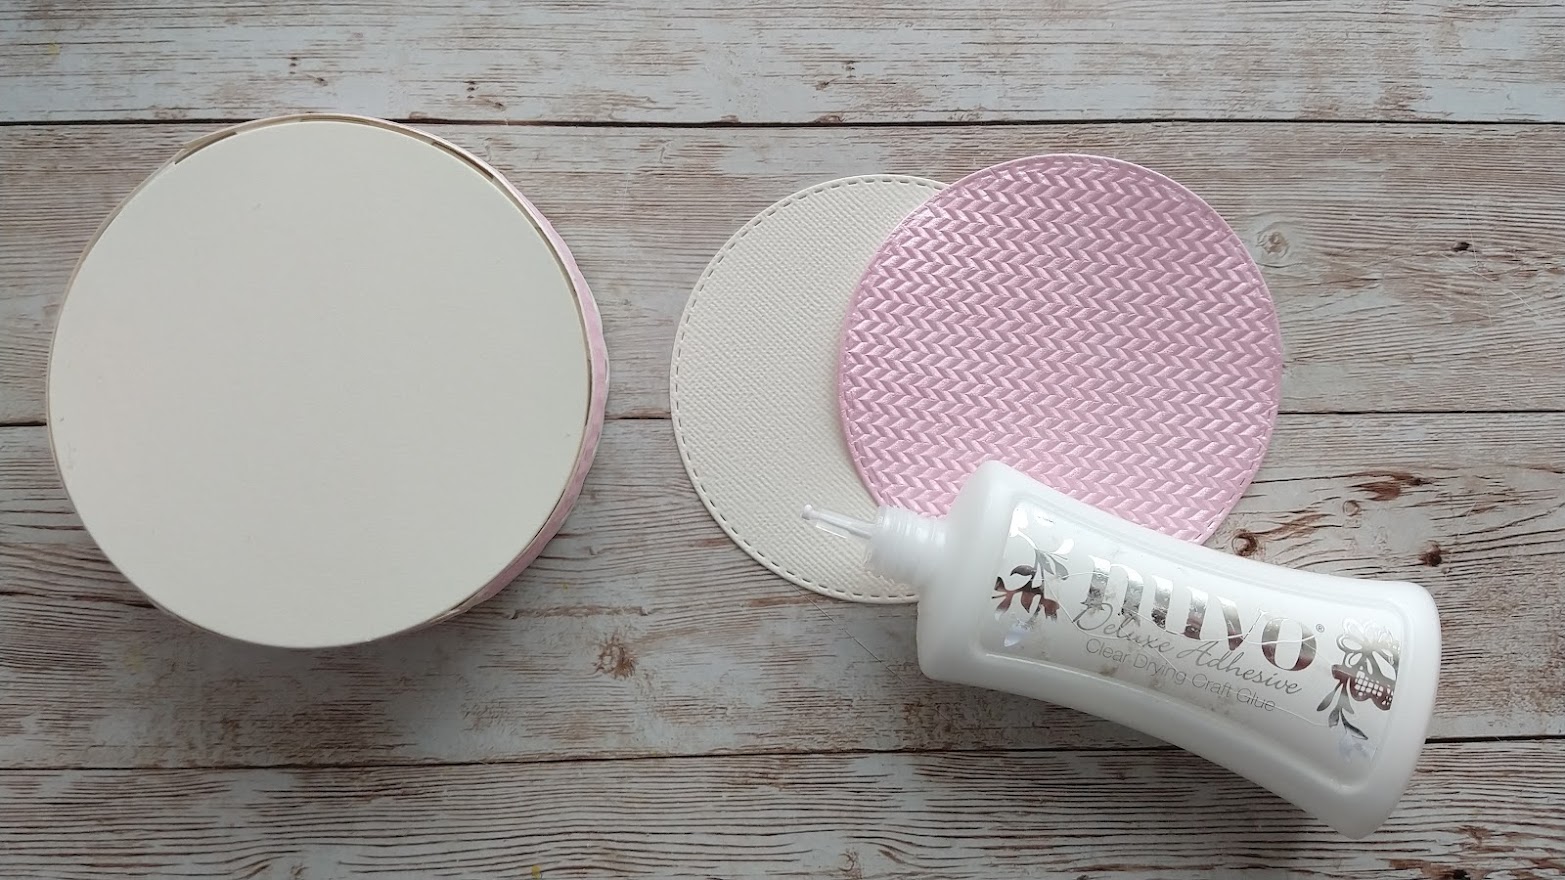
7. Glue the pink circle to a small ivory circle.

8. Glue this to the top of the lid.
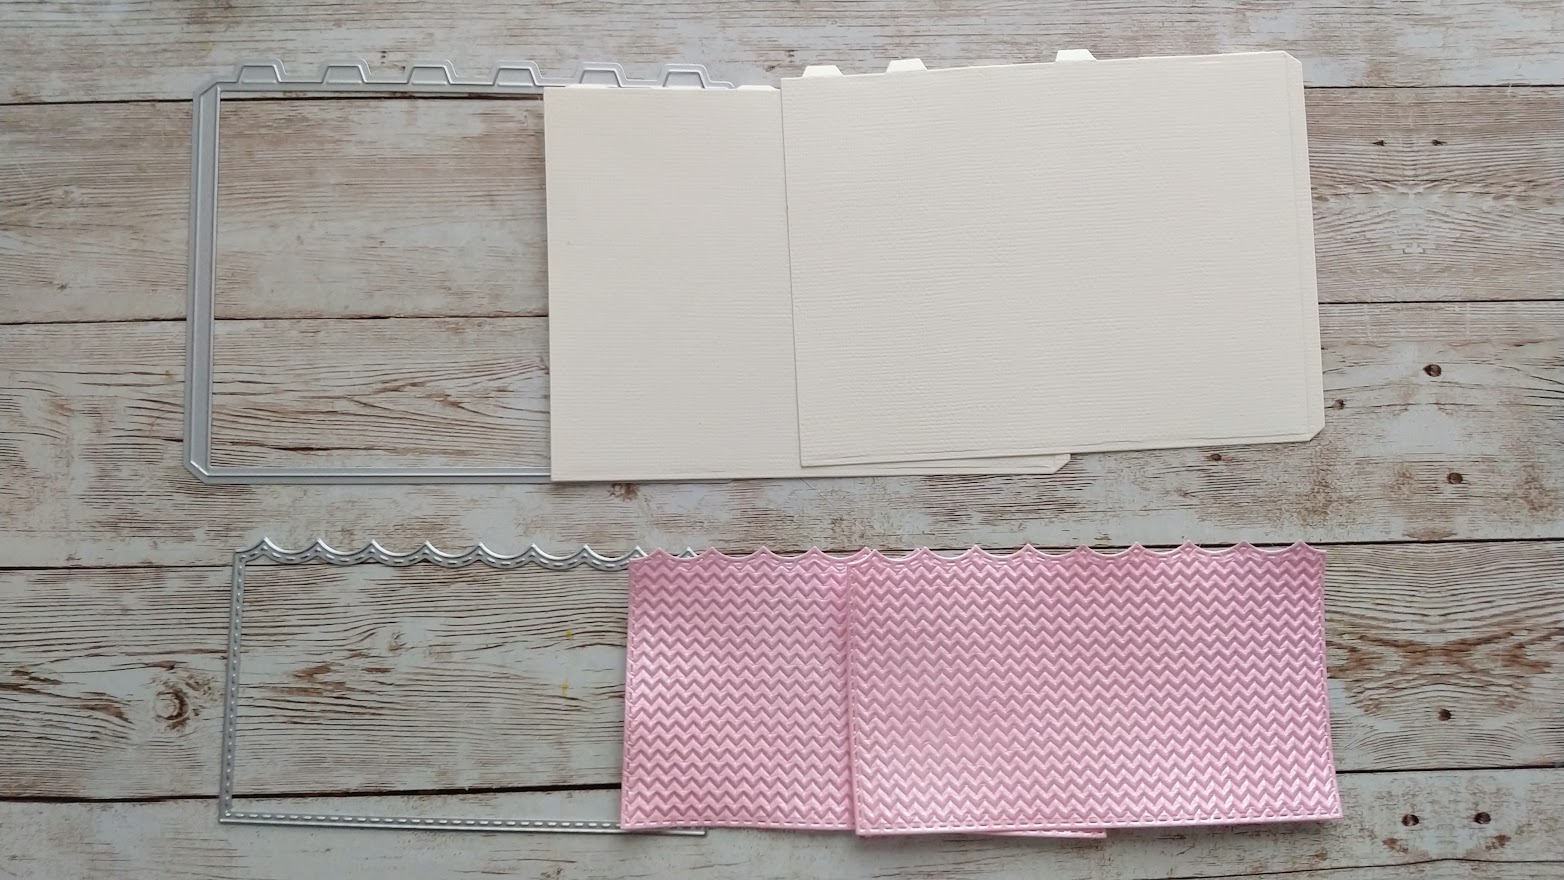
9. Die cut 2 large side panels from ivory
card and 2 pink decorative panels.


11. Attach these to a small ivory
circle in the same way as you made the lid.

12. Cut 2 ivory stitched strips and
glue around the top of the gift box.

13. Glue a smaller ivory circle to the
base of the box to cover the glue tabs.

14. Die cut 2 handles from the ivory
smooth card, and 3 strap joins from silver card.

15. Attach the 2 handle die cuts
together by folding the tabs at one end of each through the strap join.

16. Fold the tabs back and glue in
place.

17. Glue a strap join on the back to
cover the glue tabs. Glue the other one on the front.

18. Die cut 8 Handle Swivels, 6
Handle axles and 4 Handle Clasps.

19. Glue 3 handle axles together and
then glue onto a handle swivel, aligning the slits. Repeat.

20. Glue 2 handle clasps together.
Repeat.

21. Place a handle clasp on top and
add glue to the top of the axle (NB not on the handle clasp)

22. Glue another handle clasp on top.

23. Fold back the tab at one end of
the handle and glue into the handle clasp.
Repeat. Glue the remaining handle clasps on the back and front of the others as before to cover the glue tabs on the handle.

24. This is how the handle should
look now.

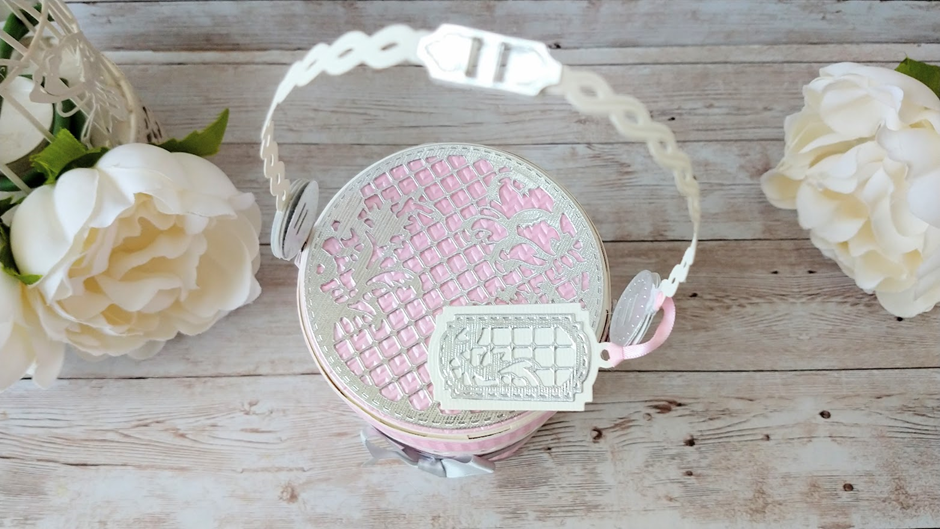
25. Glue the handle clasps to each
side of the lid.

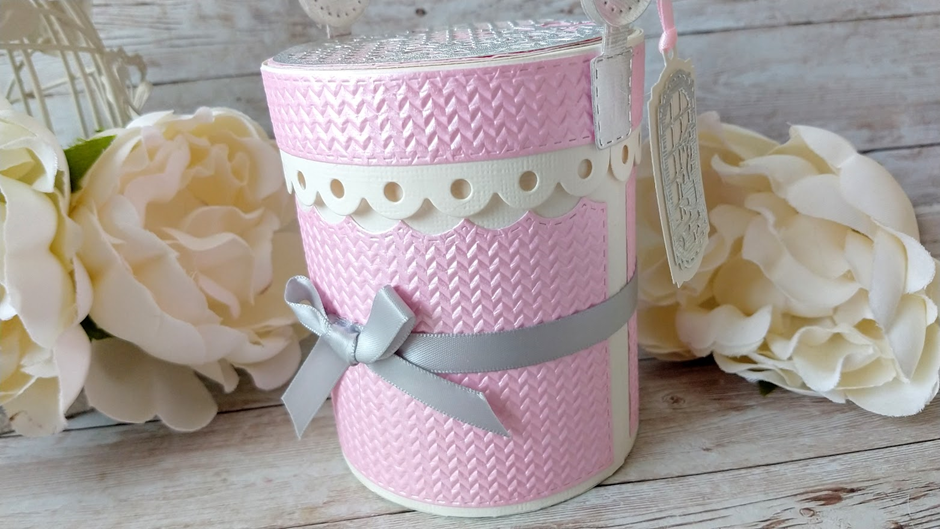
26. Use the small circle die with the patterned die to cut out a patterned circle and glue to the lid of the box.

27. Wrap a length of ribbon around
the gift box and glue a bow on top.

28. Use the dies shown to die cut a
tag and attach to the handle with pink ribbon.

28. Use the dies shown to die cut a
tag and attach to the handle with pink ribbon.
No comments:
Post a Comment
Thanks so much for taking the time to leave a comment, it's lovely to hear from you. Ruth