Thursday, 2 September 2021

Tonic Studios Glitter Card (affiliate)

Craft Perfect Glitter Card comes in a fantastic array of different colours and is perfect for making cards as it is low shed!

When I’m using it, I tend to think of it in 3 different ways –

1. As a focal point ie with the glitter on the top of card with a different texture.
2. Full on glitz ie most of the elements are made from glitter card
3. As a background, peeping through die cut areas of card.

Whichever way you use it, it’s certain to give the wow! Factor to your cards!

 I’ve made a card showing each of these ways of using Glitter Card and you can follow the steps below 😊


CARD 1


For this card I have used

 panel die from the Delightful Dresser die set

sentiment and holly leaves from the Christmas Rose Stamp Club

 Welsh Gold Glitter Card

 Pink Chiffon Satin Effect card

7x7 Craft Perfect Bright White card

White Gloss Crystal drops.


1. Cut a piece of Pink Chiffon card measuring 16.5 cm x 16.5cm and die cut 4 of the dresser panels from Welsh Gold Glitter Card.


2. Leaving a 0.5cm gap around the outside of the Pink Chiffon card, glue the first glitter panels on vertically in the bottom right corner.


3.Glue the rest of the panels on as shown.


4. Die cut the sentiments from glitter card and glue onto Pink Chiffon backing plates. Attach to the centre of the card with 3D foam pads.


5. Die cut 4 small and 4 large leaves from both types of card.


6. Arrange the leaves and glue around the sentiment. Add Crystal Drops.


CARD 2


For this card I have used 

Craft Perfect Ocean Blue Texture Weave card

Craft Perfect Glitter Card – Turquoise Lake, Berry Fizz and Sugar Crystal

Craft Perfect 6x6 Bright White card

Designer’s Choice Serendipitous Sepal die set

Craft Tacky Glue

3D foam pads


1. Cut 7 strips of glitter card measuring 2cm x 13cm and glue to a 13cm x 13cm piece of plain card. Trim the glitter to fit the panel so that the outer strips are narrower. Glue to a 14cm square of Ocean Blue card and then to the card front. Cut 2 narrow strips of Berry Fizz Glitter card and glue across the top and bottom of the glitter panel.


2. Die cut the plain Tulip shape from the Serendipitous Sepal set from  Turquoise Lake glitter card and use the same die with the detail die to cut the pattern from Sugar Crystal card and glue together. Attach to the centre of the card with 3D foam pads and glue. Paper piece a Berry Fizz heart into the centre.


3. Die cut the side panels with the dies shown from Berry Fizz Glitter card and snip in half. Glue around the centre Tulip shape, adding paper pieced Sugar Crystal hearts.


CARD 3


1. Die cut the 7cm wide tag twice from white card and once from Ruby Ritz Glitter card. Glue the glitter card tag and one of the white tags together back to back.


2. Die cut the panel form the Delightful Dresser from the remaining white tag.


2. Die cut the panel form the Delightful Dresser from the remaining white tag.


3. Glue the panel and the rest of the tag onto the glitter tag.

Die cut 2 of the dresser handles from Ruby Ritz card and glue to the top of the tag. Add twine. Glue sequins to the tag as shown.


Wednesday, 1 September 2021

Scarecrow digi image from Ruth Hamilton Design (#ad)


Good morning :)
Another new little digi from Ruth Hamilton Design today. "Scarecrow"! I don't think he's going to scare any crows or anything else for that matter!

You can see how I coloured him here -

and how to make an easel card with him here -


Thanks for looking :)


Tuesday, 31 August 2021

Sunflowers digi image from Ruth Hamilton Design (#ad)


Hello :) I'm introducing a new digi image this evening :) It's the beautiful Sunflowers image and is available on my website - https://ruthhamiltondesign.com/

 If you'd like to see how I coloured the image you can watch this video


and you can watch this video to see how I made a split front card using the image 


Don't forget to subscribe to my channel if you enjoy watching!
Thanks so much for looking :)


Mid Week Deals from Tonic Studios (affiliate)


The Mid Week Deals are on the Tonic websites now


These are my affiliate links if you'd like a look -
on the UK site, there's 75% off the Goodie Bag deal which includes the fab Memory Book Satchel Bag die set! The whole bundle rrp was £86.46 and is now £22.00!!


Monday, 30 August 2021

Tonic Studios Christmas Shop Window die set (affiliate)


This is for anyone who has been waiting for the Christmas Shop Window die set from Tonic!
USA - https://bit.ly/3BpFFuc (affiliate links)
Enjoy :)


Everlasting Delicacies Sweet Surprise bundle (Tonic Studios) affiliate


 Good morning :)

A little heads up re the Everlasting Delicacies Sweet Surprise die set.
UK - https://bit.ly/3mPpcLT (affiliate links)
There's a bundle which includes the die set and 6x6 Sweet Sorbet paper pack. Bundle rrp £41.48 now £27.00!!

Friday, 27 August 2021

Tonic Studios Stamp Club - Christmas Rose (affiliate)

Hello :) I'm delighted to be sharing the latest Stamp Club stamp and die set from Tonic Studios today!
The gorgeous new ribbon which I used on these cards is also now available from the websites :)

Here are my affiliate links if you'd like to have a look -


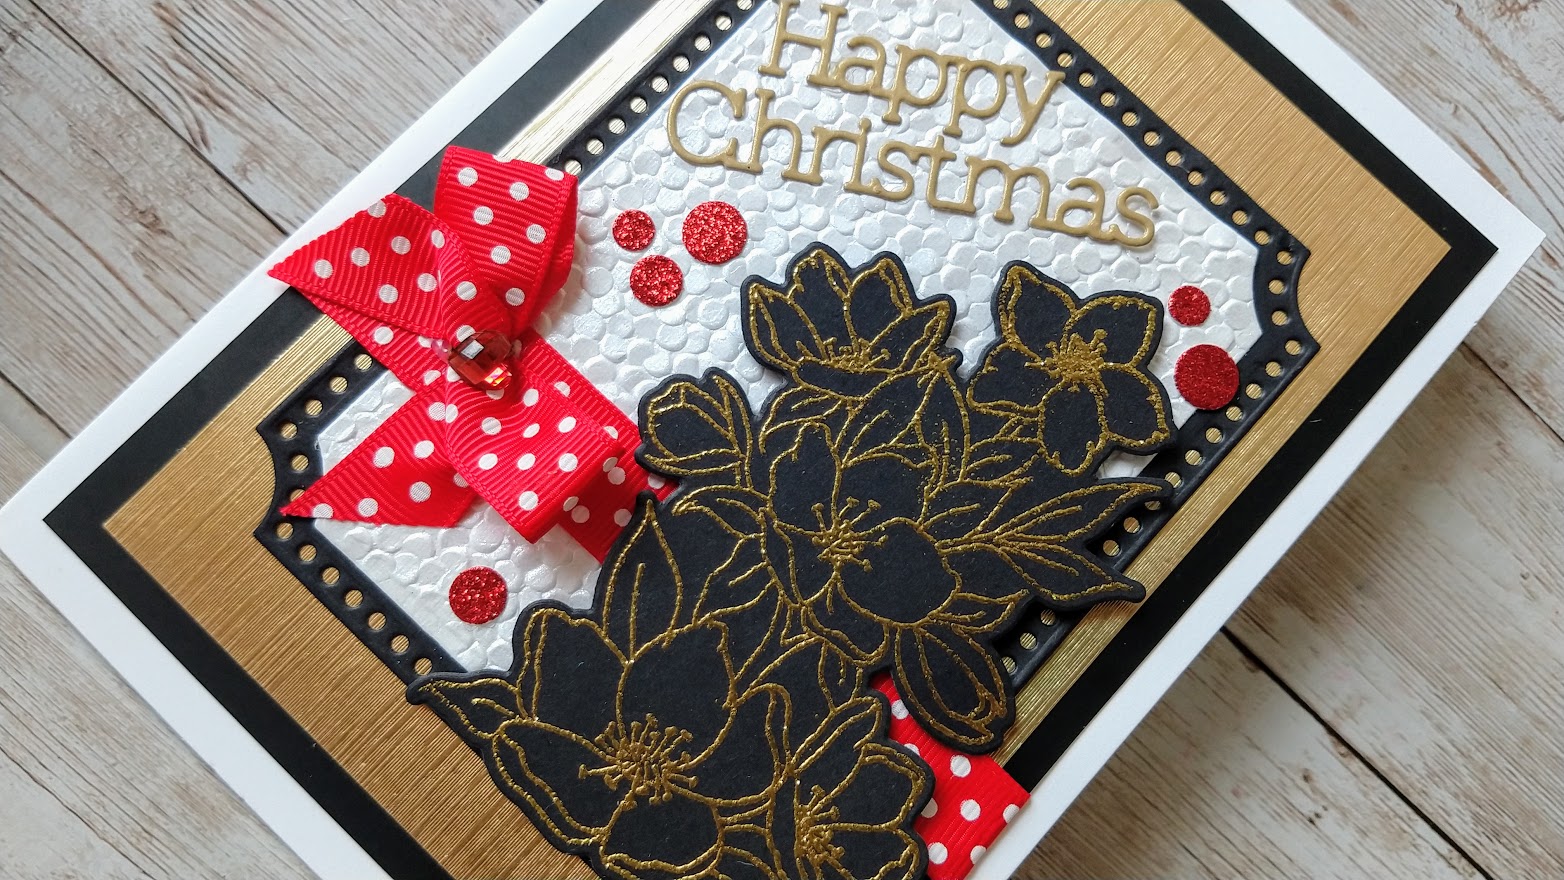
It's called Christmas Rose and in this video I'll show you the set and how to make 3 beautiful cards. In the first card, I use Nuvo alcohol markers to colour the stamped image and pop it into a Shaker pocket with Prickly Pear sequins. In the second card, I use Nuvo Clear Mark Ink and Gold Glitter Embossing Powder on Smooth Black card. I just love watching the powder melt when it gets heated with the heat gun! I used Red Ruby Glitter card as a background for the third card to make the stamped image pop, along with the help of some 3D foam pads.
 I hope you enjoy this video :) Don't forget to subscribe to my channel to see more! 
Thanks so much for watching :) 
 Link to disclosure - https://apassionforcards.blogspot.com/p/how-it-works.html


Thursday, 26 August 2021

Crafters' Ribbon - new from Tonic Studios (affiliate)


New from Tonic Studios today! Crafters' Ribbon :)
These are my affiliate links if you'd like to check them out :)
Thanks for looking :)

Monday, 23 August 2021

Three Ways with Tonic Studios Wax Core Pencils (affiliate)


The brand new Nuvo  Colour Pencils from Tonic Studios have a lovely creamy texture and are highly pigmented. They have a rich wax core and can be used on their own or to add extra detail to alcohol marker projects.

These are my affiliate links to the pencils if you'd like a closer look

 I have used pencils from both the Brilliantly Vibrant and Hair and Skin Tones sets for these cards showing three different ways to blend them. The pencils can be used to lay down colour and left as such but you can also use different techniques to get a smoother blend.


1. Using Baby Oil with Paper Stumps

For this card I used pencils from the Brilliantly Vibrant set along with the caravan die from the Summer Fun die set.

You will also need
Craft Perfect 6x6 white card
A4 300gsm Bright White Smooth card
Craft Perfect Arctic Blue card
Cloud dies from Shoot for the Stars Stamp Club
Sentiment stamp from Compassion and Poppies Stamp Club


1. Die cut the caravan, window and curtails from white card.


2. Protect the door with a little piece of card while colouring the caravan.
Colour the top with the Scuba Blue pencil adding extra shading as shown.
Colour the bottom with Tangerine Tango and add shading.
Colour the door and curtails with Lemon Grass and add shading.


3. Pour a little baby oil into a small container to use with the paper stump.


4. Dip the tip of the paper stump into the oil and blend the colours together using small circular motions. Clean the tip of the stump between each different colour blend. You can use sandpaper to clean or sharpen the stump if necessary.

Add the colour to the wheel and wheel arch and repeat the oil blending.


5. Colour a piece of white card with the Lemon Grass and Imperial Jade pencils and blend with the oil


6. Add flicks of Imperial Jade to resemble grass. Trim and glue to a 12cm square piece of Arctic Blue card


7. Glue die cut clouds to the blue card and add the caravan on 3D foam pads. Glue a stamped sentiment along the bottom of the card.


2.  Using a Blender Pen

For this card I used a stamp from the Flower for Every Season set along with Brilliantly Vibrant pencils and blended the colours together with a Derwent Blender pen.

You will also need
Craft Perfect 300gsm Bright White Smooth Card
Luxury Layering Luggage Tag die set
Nuvo Prickly Pear Sequins
Craft Tacky Glue
3D foam pads
Twine


1. Stamp the image onto white card


2. Colour with the pencils as shown, using African Violet, Cotton Candy, Lemon Grass, Imperial Jade and Spring Daffodil


3. Blend the colours together using the blender pen.


4.  Die cut the image and attach to a die cut tag with 3D foam pads. Add twine and some sequins


3.  Using a White pencil to Blend.

I have used another stamp from the Flower for Every Season set for this example along with both sets of pencils
 You will also need
Craft Perfect 300gsm Bright White Smooth Card
Luxury Layering Luggage Tag die set
Nuvo Damask Rose Aroma Drops
Craft Tacky Glue
3D foam pads
Twine


 When using the white pencil to blend you will get a paler and chalkier finished result.


1. Stamp the image onto white card.


2. Colour the image with Pinot Noir, Strawberry Milkshake, Pale Blonde and Tangerine Tango, Imperial Jade and Roast Chestnut pencils.


3. Blend all the colours together using the White Cotton pencil.


4. Die cut the image and attach to a die cut tag with 3D foam pads. Add twine and some Aroma Drops.


Saturday, 21 August 2021

Festive Treats Mason Jar from Tonic Studios (affiliate)


The new Festive Treats Mason Jar set is available now from Tonic!!
These are my affiliate links if you'd like a little look 🙂
Thanks so much for looking 🙂
Enjoy 🙂


Friday, 20 August 2021

Tonic Studios Craft Kit - Winter Advent Star Box (affiliate)


I'm delighted to be sharing the new Tonic Studios Craft Kit with you today :) These are my affiliate links to the kit - UK - https://bit.ly/3AYJaYd USA - https://bit.ly/3y1bcjT


This one is called Winter Advent Star Box and in this video I show you through what's in the kit and how to make the star box along with several hints and tips for using the other dies creatively. The colours of the cards and papers inside the kit are fabulous and you're going to love the contents of the Nuvo packet!! I hope you enjoy the video and if you do, I'd love you to subscribe to my channel and come back to see more :) Thanks so much for watching :)


Die Cutting Essentials Magazine issue 80 (affiliate)


 Die cutting Essentials magazine issue 80 has just arrived and look who's checking it out!

This is my affiliate link
I absolutely loved making these cards with the gorgeous free panel die from Christine Griffiths and the paper downloads.