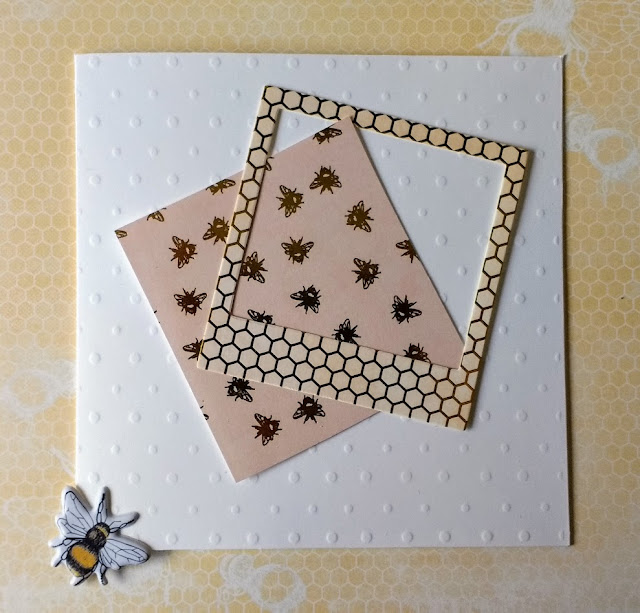
Bee Happy :) the new Dovecraft Premium collection from Trimcraft has beautiful foiled paper designs and lots of different coordinating embellishments. You can see below how to make this card using some of them.
I'm not sure who came up with this card shape in the first place but I've seen variations on Pinterest with different shaped dies.
I'm not sure who came up with this card shape in the first place but I've seen variations on Pinterest with different shaped dies.
You will need;
Dovecraft Premium "Bee Happy" 8x8 paper pad
Dovecraft Premium "Bee Happy" steel dies
Dovecraft Premium "Bee Happy" Puffy Stickers
Dovecraft Premium "Bee Happy" Photo Frames
Dovecraft Premium "Bee Happy" Cotton Ribbon
Dovecraft Premium "Bee Happy" Washi Tape
Dovecraft Polka Dot Embossed 6x6 card and envelope
Trimcraft First Edition Frame dies FEDIE211
double sided tape
Dovecraft Crafters Glue
white card
die cutting machine
How to make it:
1. Cut a piece of gold foiled bee paper to 8.5cm x 9cm and glue the photo frame on top. Glue to the centre of the card.
2. Cut a 9.5cm piece of ribbon with a tail and attach to the bottom of the frame with double sided tape.Die cut the honeycomb in white card and glue to the bottom left,. Add a heart Puffy Sticker to the centre and a Bee Puffy Sticker to the top right.
3. Cut 2 pieces of pale green patterned paper (14.5cm x 14.5cm) and glue to both sides of the inside of the card. Cut a 29.5cm x 2cm strip of white card. Fold in the centre and then fold each side into the centre as shown.
4. Add honeycomb washi tape across the strip and glue to the centre of the card making sure to only attach the two outside quarters.
5. Die cut 4 frames in peach paper and cut a piece of 4 different patterned papers and white card each measuring 6cm x 6.5cm.
6. Glue the patterned paper to the white card and then glue the frames on top. Glue the centres of these to a folded part of the strip with washi tape on top.
7. Die cut the 4 shapes above from white card and gold patterned paper.
8. Offset the gold paper die cuts on top of the white die cuts and glue one to the centre of each of the frames.
9. To finish, add a length of gold honeycomb washi tape along each side of the card front to create a frame.


great card .x
ReplyDeletelove it..I see a Christmas card coming from this idea
ReplyDeletePretty card from this fancy fold. Thanks for sharing this great idea.
ReplyDelete