Thursday, 2 June 2022

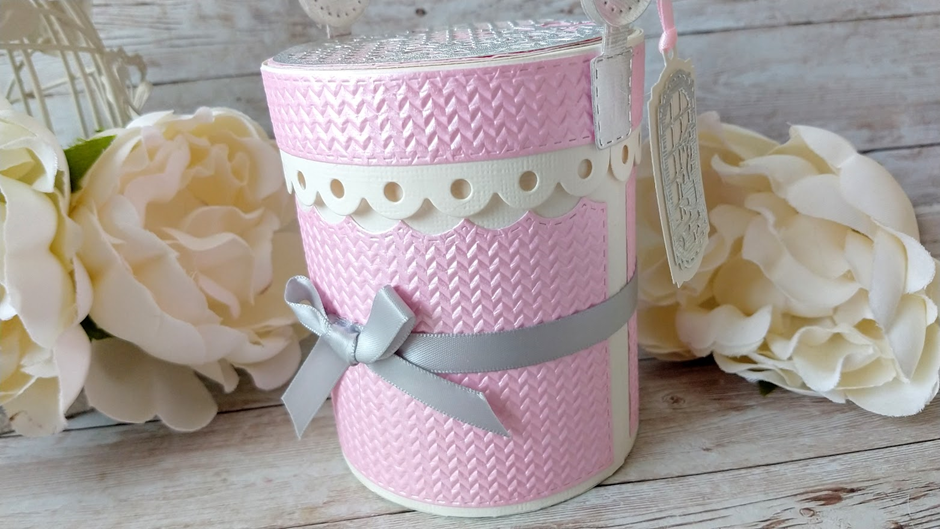
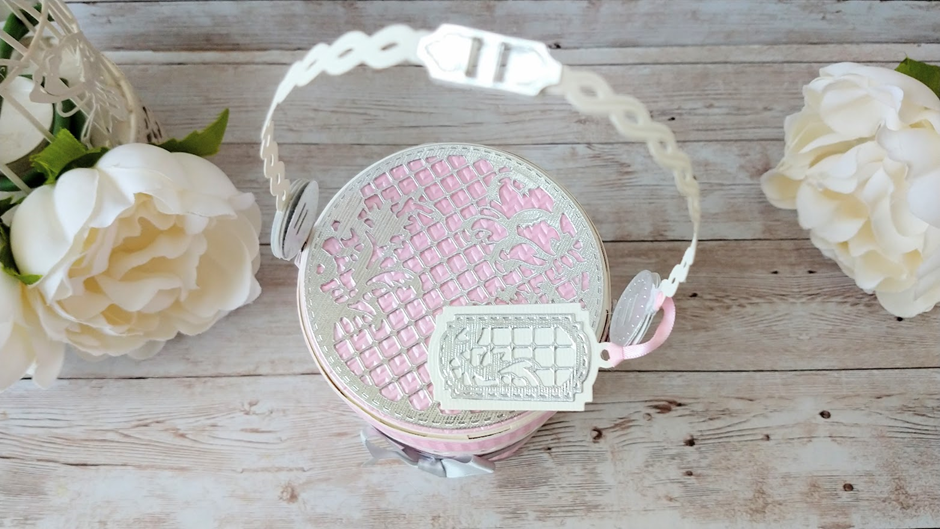
Make an Elegant Ascot Gift Box #affiliate


The beautiful Elegant Ascot Showcase die set contains 35 dies which you can use to create a gorgeous hat-box inspired gift box.

These are my affiliate links to the set


You can see my video here 

where I show you how to make a different box and explain how some of the dies can be used for making cards
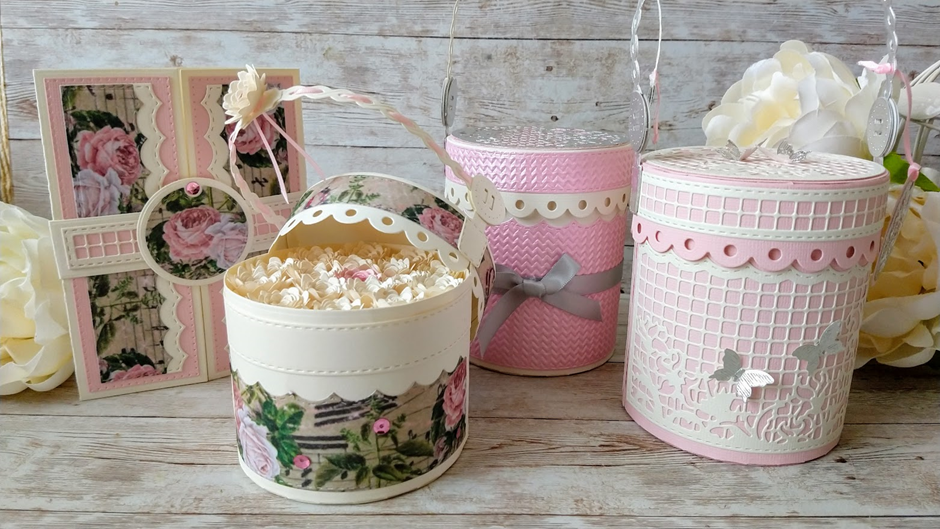

To make this gift box you’ll need the following Tonic products

Elegant Ascot Gift Box de set

Craft Perfect Classic Card, Ivory

Craft Perfect Smooth Card, Ivory (for handles)

Craft Perfect Speciality Paper, Marshmallow Pink

Silver Mirror Card

Nuvo Deluxe Adhesive

Craft Perfect Ribbon, Glacier grey 9mm and Sweet Pink 3mm

Tangerine Die Cutting Machine


Let’s get started!

1. Die cut 2 large circles and 3 smaller circles from ivory card and a smaller circle from Marshmallow Pink Paper.


2. Die cut 2 ivory lid skirts, 2 ivory lid tabs and 2 Marshmallow Pink Stitched Strips.


3. Fold in the side tabs on both of the lid tab dies, add glue and attach to one of the large circles. Align the score lines at the ends of the tabs and attach the second tab in the same way.


4. Glue the second large circle on top to cover the glue tabs


5. Glue the pink paper to the lid skirts and shape with a bone folder.


6. Glue these to the lid tabs.
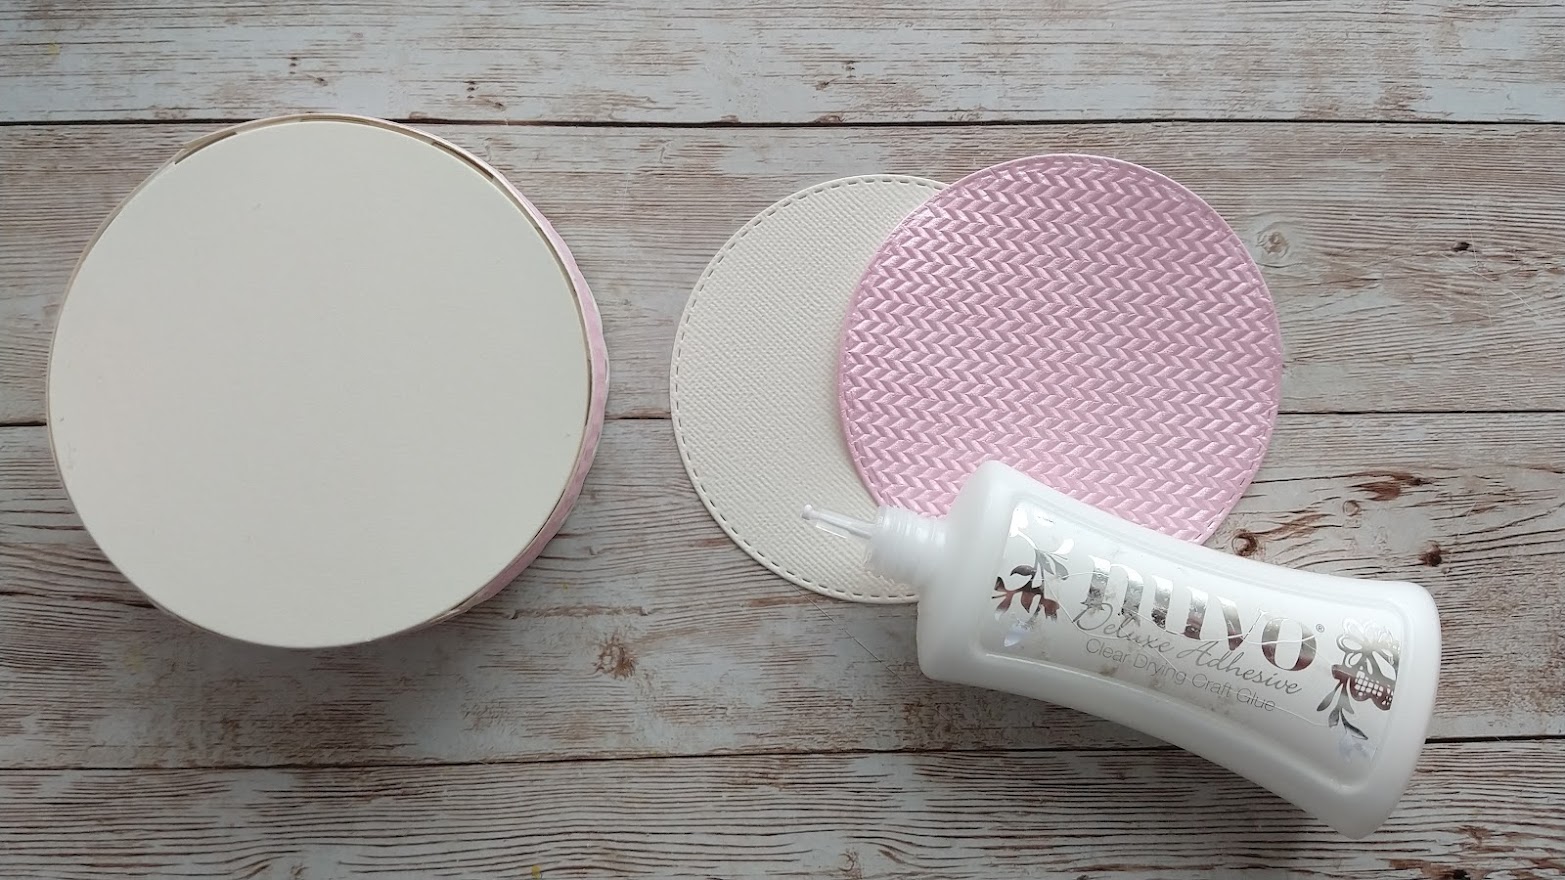


7. Glue the pink circle to a small ivory circle. 


8. Glue this to the top of the lid.
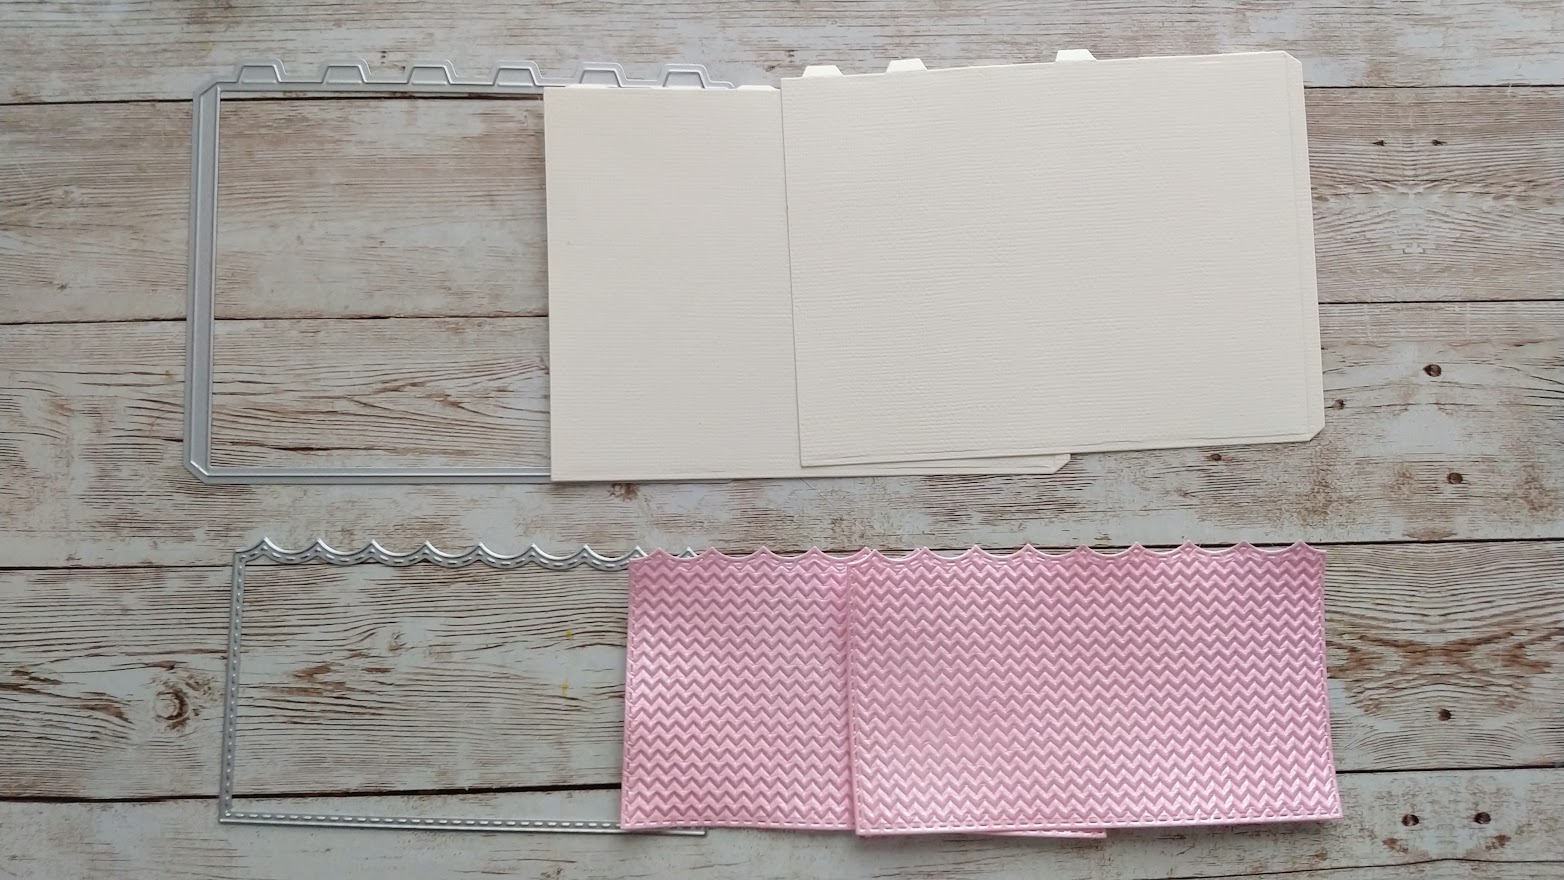

9. Die cut 2 large side panels from ivory card and 2 pink decorative panels.


10. Glue these together and shape with a bone folder.


11. Attach these to a small ivory circle in the same way as you made the lid.


12. Cut 2 ivory stitched strips and glue around the top of the gift box.


13. Glue a smaller ivory circle to the base of the box to cover the glue tabs.


14. Die cut 2 handles from the ivory smooth card, and 3 strap joins from silver card.


15. Attach the 2 handle die cuts together by folding the tabs at one end of each through the strap join.


16. Fold the tabs back and glue in place.


17. Glue a strap join on the back to cover the glue tabs. Glue the other one on the front.


18. Die cut 8 Handle Swivels, 6 Handle axles and 4 Handle Clasps.


19. Glue 3 handle axles together and then glue onto a handle swivel, aligning the slits. Repeat.


20. Glue 2 handle clasps together. Repeat.


21. Place a handle clasp on top and add glue to the top of the axle (NB not on the handle clasp)


22. Glue another handle clasp on top.


23. Fold back the tab at one end of the handle and glue into the handle clasp.

Repeat. Glue the remaining handle clasps on the back and front of the others as before to cover the glue tabs on the handle.


24. This is how the handle should look now.


25. Glue the handle clasps to each side of the lid.


26. Use the small circle die with the patterned die to cut out a patterned circle and glue to the lid of the box.


27. Wrap a length of ribbon around the gift box and glue a bow on top.


28. Use the dies shown to die cut a tag and attach to the handle with pink ribbon.


28. Use the dies shown to die cut a tag and attach to the handle with pink ribbon.


Tuesday, 31 May 2022

Spring Meadow Trend from Tonic used with 2 Different Die Sets (PLUS VIDEO) #affiliate


Hello :)

You may remember that I gave you a little look at the new Spring Meadow Trend from Tonic 2 weeks ago. I only had the card at that stage so now I have the full Trend and I'm showing you everything in it today :)
If you've already seen the contents you can skip right on to 9 mins 53 secs to see how I use lots of different products from it to make 2 different cards.
This gives you lots of scope for using all the dies and stamp sets which you might already have!

You can see my video here -

(and scroll on down to see LOTS of photos!

In this video I have used the following (affiliate links)
Spring Meadow Trend


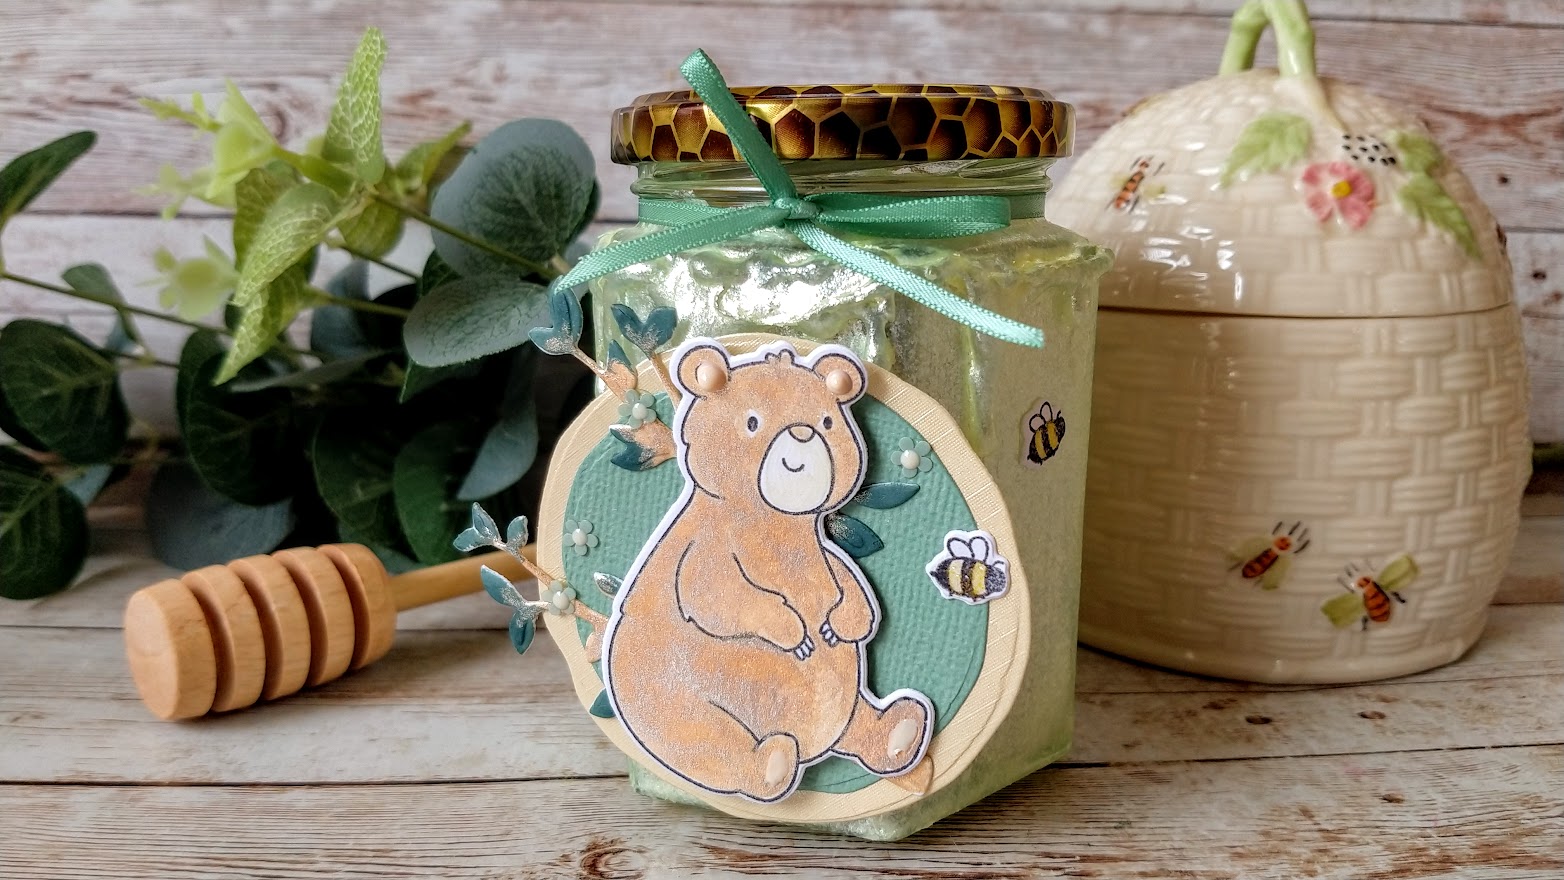
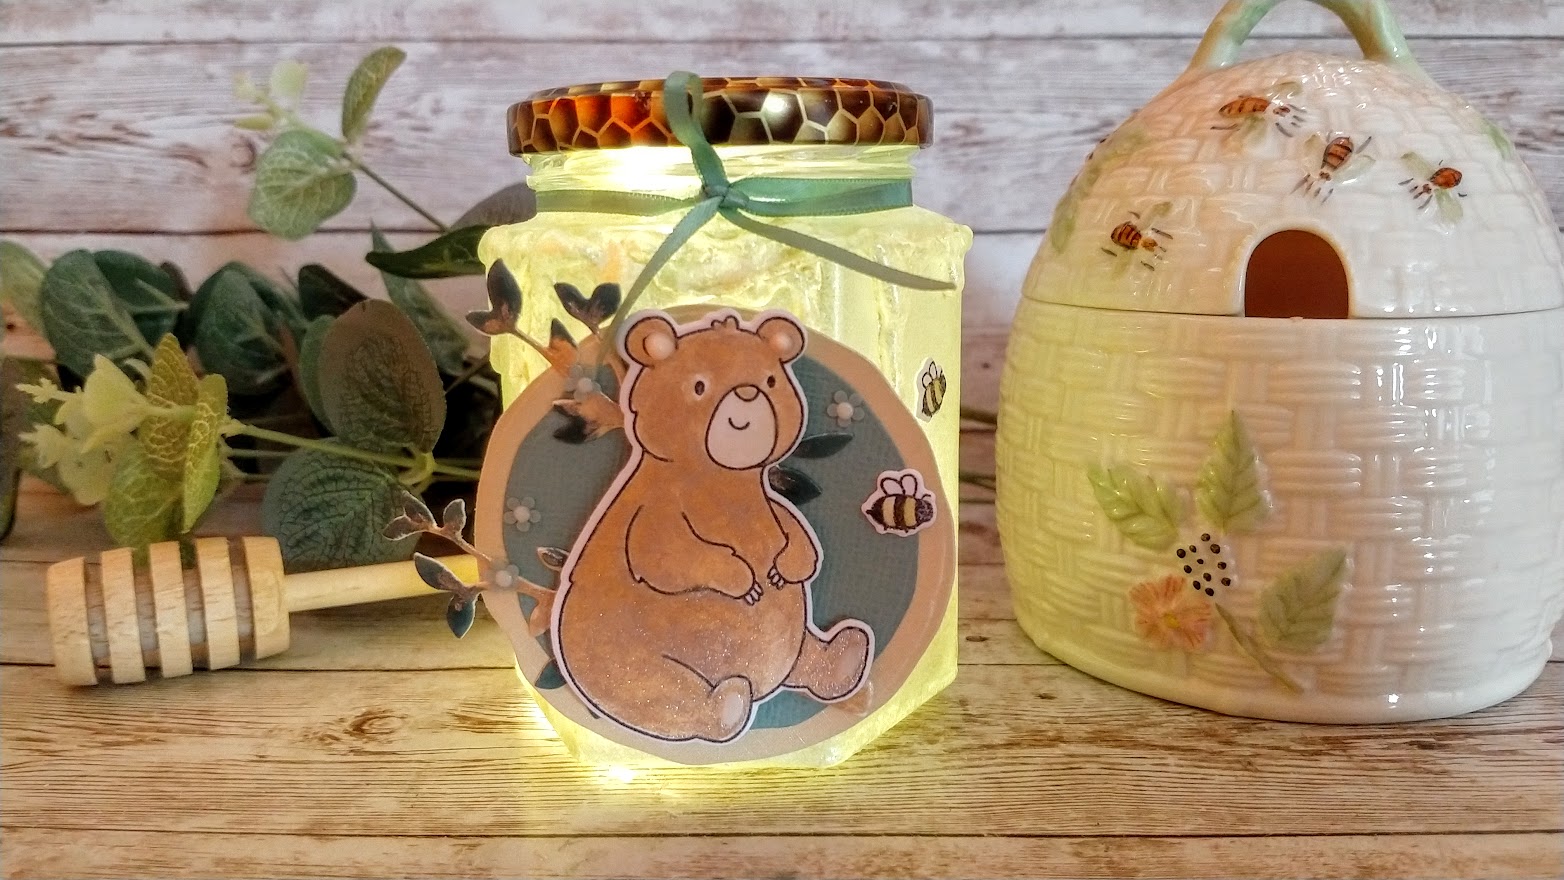
Hungry Honey Bears Stamp Club

UK - https://shrsl.com/3jiac
 
USA - https://shrsl.com/3jiaf

Spring Shadow Box Designer's Choice die set

TANGERINE A4 Die Cutting Machine and Plates

Nuvo PAINT BRUSHES

White Smooth Card

Fine Tip Precision Hot Glue Gun


Glue Sticks

Nuvo Deluxe adhesive


STAMPING PLATFORM


I used the Tonic Fine Tip Precision Glue Gun to create the "honey" and coloured it with the Glacier Paste from the Trend :)


Friday, 27 May 2022

Diagonal Split Front Secret Message Card (video )


New Friday video on my YouTube channel


This is another card in my Card Shapes Playlist where I show you some ideas of how to change the look of an ordinary card to give it a little "something extra". This fold actually came about by accident a couple of years ago as I was preparing the pieces for a demo card and cut it in half by mistake! The original card was a 5x7 blank but this time I've made a 6x6 card. You can use any dies, papers, stamps etc that you have and don't need anything special at all. I hope you enjoy this and please help me to grow my channel by leaving a little comment in the section below this description.
As I said you can use whatever you like but if you're interested, I have used the Sweet Pea digi image - https://ruthhamiltondesign.com/produc... from my website "Ruth Hamilton Design" - https://ruthhamiltondesign.com/ and coloured it with alcohol markers. Thanks so much for looking :) If you enjoy the video please don't forget to "like" it and subscribe to my channel :)


Thanks so much for looking

Wednesday, 25 May 2022

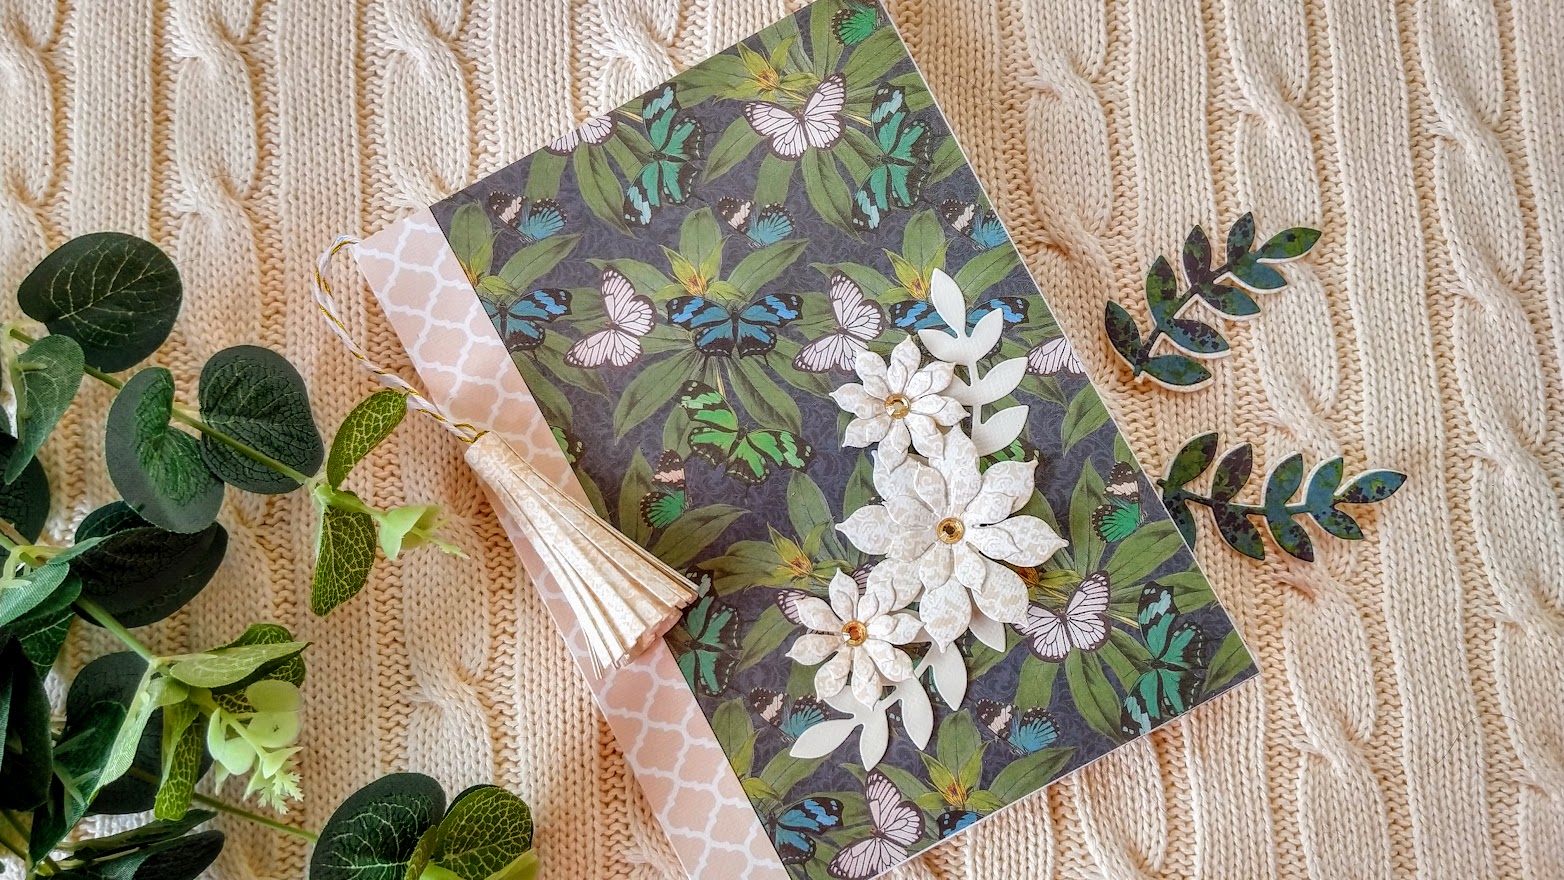
Make an Envelope Album STYLE 1


Good evening

I've just posted a video showing how to make an envelope album. I'm sure lots of you have plenty of spare envelopes!


You don't need any special dies, stamps etc, just use whatever you already have to decorate. I've used envelopes from 5x7 cards for this one but I'll be back at another stage with different sizes and shapes


Thanks so much for looking

Monday, 23 May 2022

Surprise Corner Card tutorial video

 Good morning :)

I have added another quick and easy card fold video to my YT channel. You can see it here -


You don't need any specific dies, stamps or papers for this and when you try it you can totally change it every time you use it to keep it fresh.
Thanks so much for looking :)
Don't forget to leave a comment below the video as this helps me on my way :)


I've used the Baby Girl Shoes Digi image from my website Ruth Hamilton Design


Saturday, 21 May 2022

Allsorts Challenge Blog #ad


Hello :)

This is my Guest DT card for the  Allsorts Challenge Blog  where the challenge this week is "Birthday"

I've made a DL card using the Hydrangea digi image from my website - Ruth Hamilton Design, printed it out 3 times and coloured it with alcohol markers. Then I overlapped them and glued them to my card and die cut. I've made a lot of pink cards lately and I'm beginning ti like it! lol

There are lots of prizes this week 

including 3 digi images from my website :)

Why not pop over and join in!!