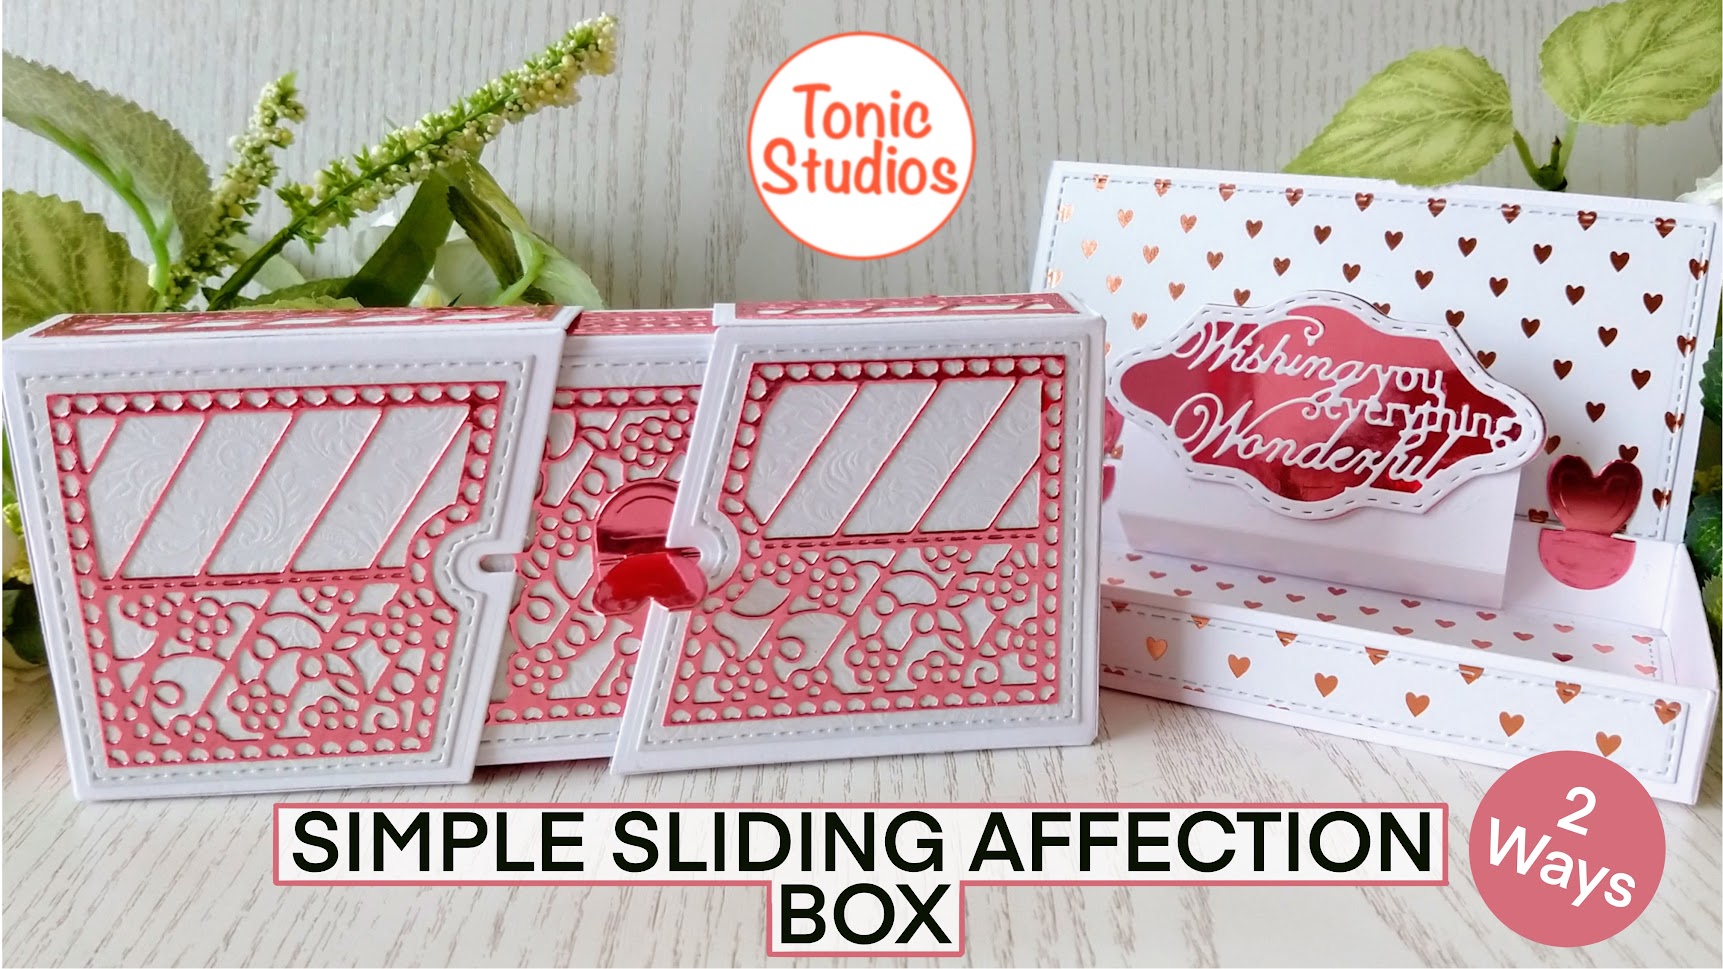
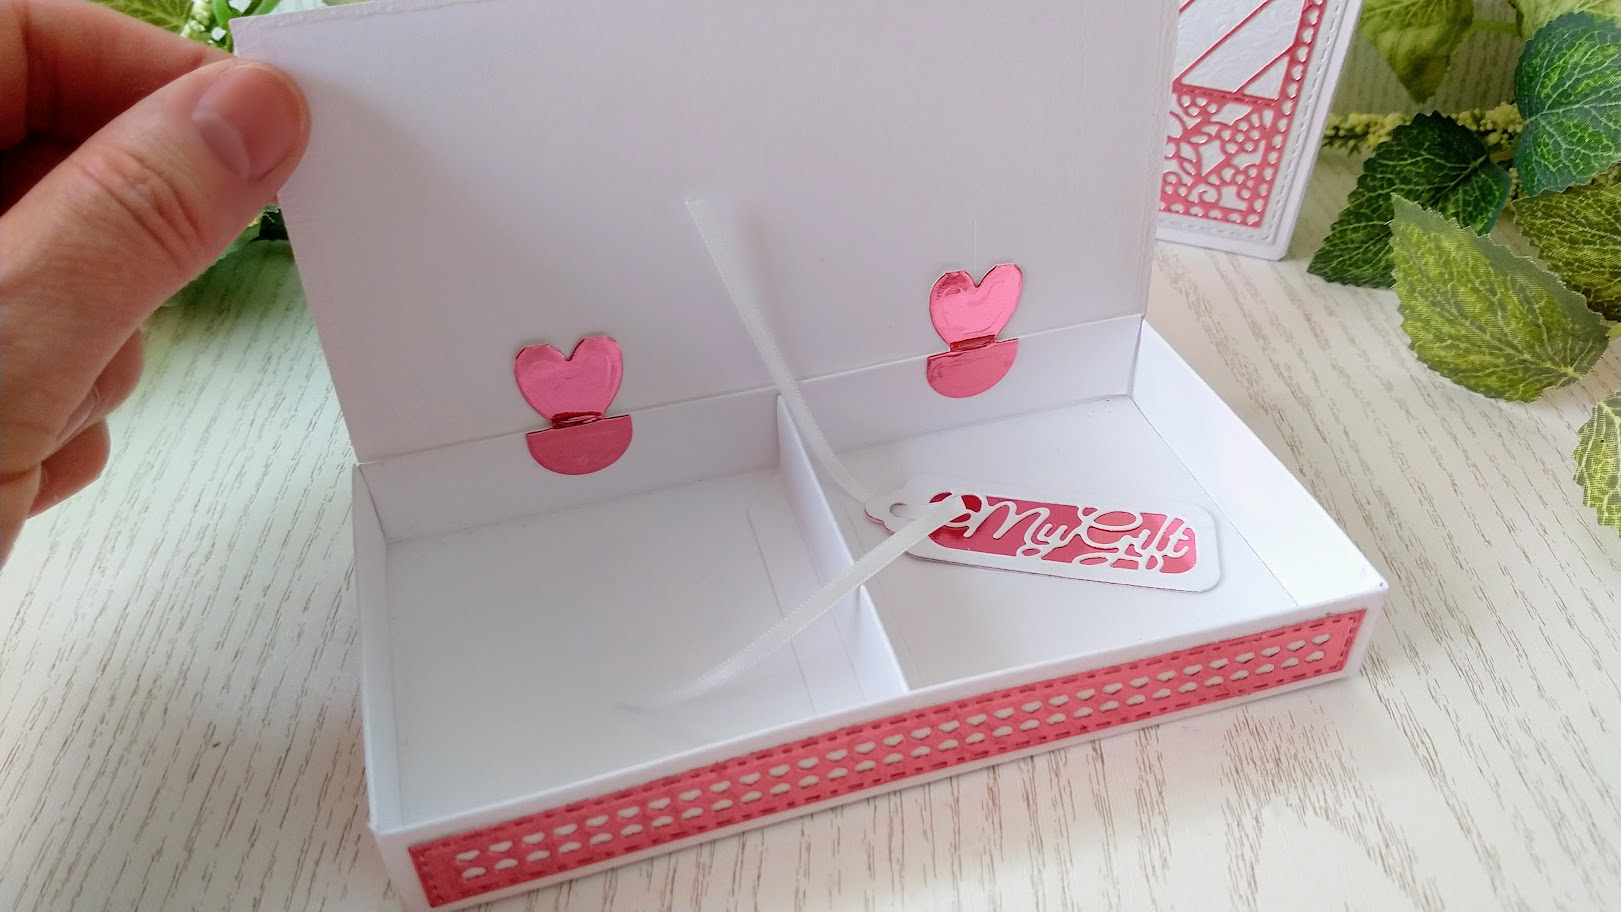
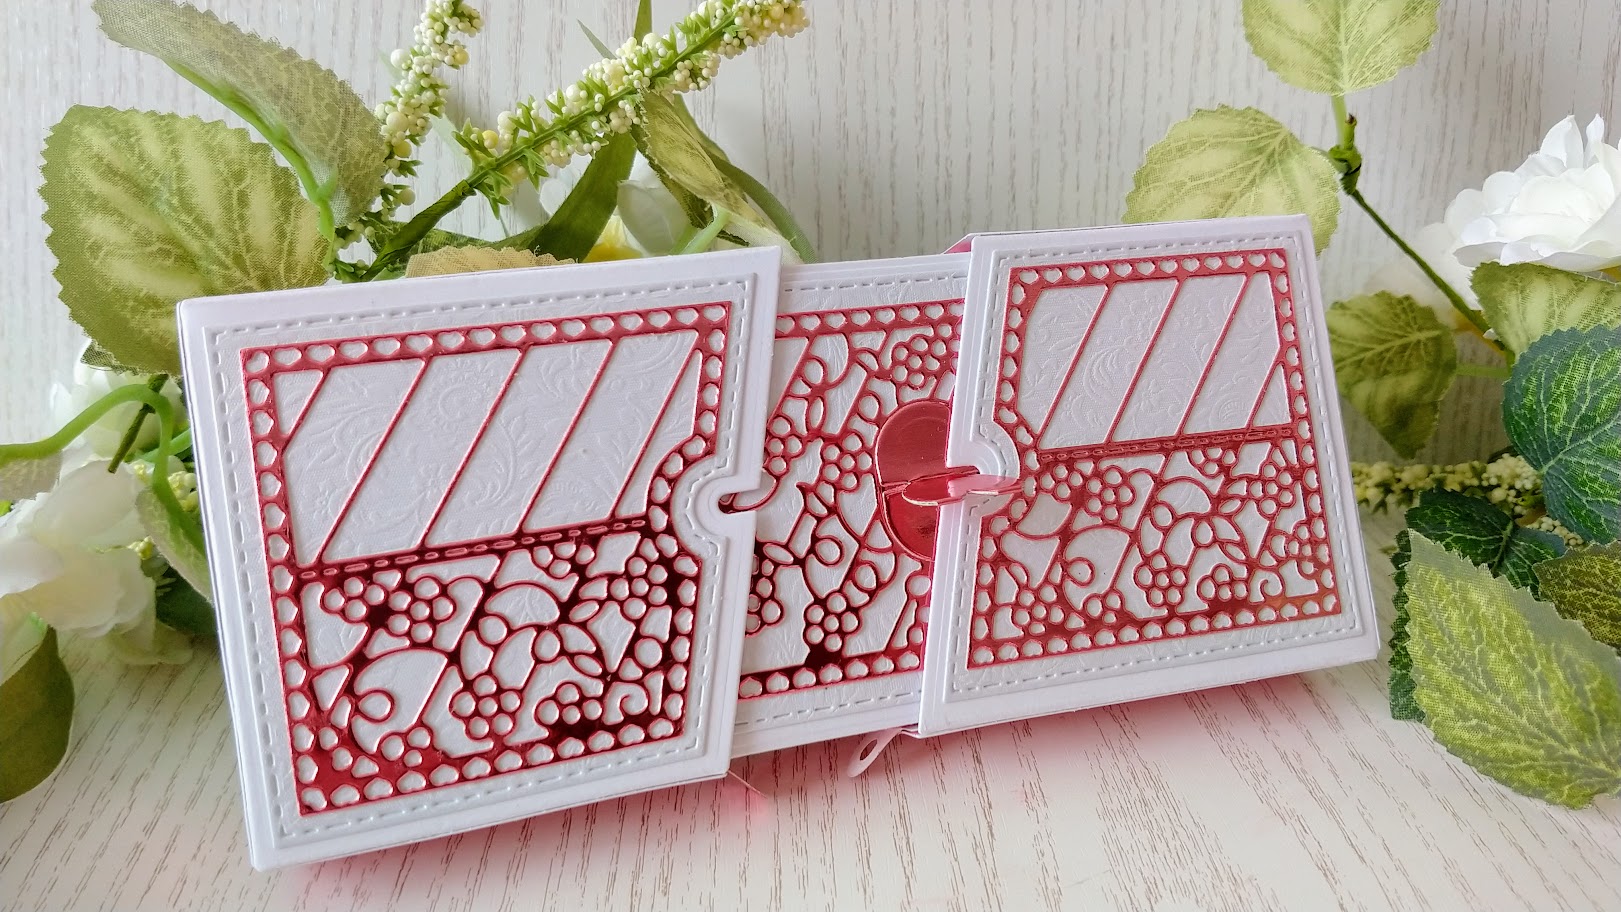
This is another adorable die set from Tonic! There are 36 die in the set and you can make a little gift box which fits inside two sliding compartments. I have made the box like the packaging but also made a different interior box for my second sample. This one has a little pop up mechanism which you can add a die cut from any of your other sets onto.
You can see my video here
I hope you enjoy watching :)
Don't forget you can also use the dies in the set to make cards, tags, bookmarks etc and you can change the way you close the box too.
This is the Beautiful Bow Display Box Die Set from Tonic Studios
It can be used to make a pretty little box which is hinged at the back and closes with a “strap” which fits behind the beautiful bow.
The full instructions are also found inside the packaging but I show you how to assemble and decorate the box in this blog post.
This is the box which I show you how
to make in this Step by Step blog post
You can see how to make the other box
and the card in my video here -
To make this you will need the
following
Beautiful Bow Display Box Die Set
White Smooth Card
Craft Perfect Black Sapphire Glitter
Card
Nuvo Deluxe Adhesive
How to make it
You can cut out all the pieces which
are shown in the instructions before you start or you can cut them as you
follow along with the steps which I have written here.
1. Die cut 3
white top panels and use the larger of the Slit Guide dies on one of the panels
as shown (with the slit towards the bottom of the guide)
2. Use the 2
dies shown together on black glitter card to create a patterned panel and glue
onto the top panel with the slit at the bottom.
3. Die cut
white Side Panel A x 2 and use the decorative detail die with the outline die
to create the black pattern. Glue these onto the side panels.
4. Turn over
and glue the panels together as shown.
5. Die cut
white Side Panel D and the decorative panel using both the detail and outline
dies. Glue these together. Burnish all score lines as you go along.
6. Die cut a
white hinge, turn over and glue the top panel, side panel d and hinge together
in the order shown in the photo.
7. Glue
together to form the base for the box.
8. Die cut
and decorate Side panel B and Side Panel C as shown.
9. Place the 2 other Top Panels as shown, glue
the Side Panels onto the glue tabs. Glue a white Side Panel D onto the back of
this and then add the 2nd Top Panel to form the box.
10. Die cut
a small decorative (the size which fits Side Panel D) and glue this to the box
as shown. Attach both side of the box by
gluing the hinge to the inside of the larger side on the left.
11. This is
how it should look when both sides are attached.
12. To form
the inside box, die cut 2 Inner Box Panels. Glue the bases together with all
the glue tabs facing each other, then fold up the sides and glue the corners
together.
13. Die cut
the Pull Tab and glue centrally underneath the inner box.
14. Place
the inner box inside the outer box and feed the Pull Tab through the slit on
the opposite side.
15. To make
the bow, die cut the pieces shown.
16. Glue the
smaller bow tails onto the larger ones and glue together by the tabs. Gently
shape the Bow Loops around a marker or something cylindrical and glue the tabs
together. Glue both Bow Loops together by the tab. Glue the Bow Loops onto the
Bow Tails and glue the wrap around the centre to hold it all in place. Die cut
the Slot Die from white card and fold to create a raised area in the centre.
17. Centre
the Slot over the Pull Tab and glue in place, making sure you only add glue on
the side tabs.
18. Glue the
Bow to the raised centre part of the Slot.
Today I'm sharing the Tall and Tiny Trinity Gift Box die set from Tonic Studios. The dies in this set can be used to make 2 basic sizes of box and I have also made a 3rd by combining the 2 sizes to make an extra large box.
You can see how I made these in my video here
I hope you enjoy watching and get some ideas for your own creations.
Hello :) The brand new Little Memories Frames die set is now available on the Tonic websites
These are adorable and can be used in the Big Top Carousel or as a stand alone item.
If you want to see how the full Big Top Carousel including the drawer compartments are made you will see that in my other video here -
I have got a new video showing you how to assemble the carousel with the compartments and then how to make and add the little frames which fit perfectly.
You can see it here
The fab Little Memories Frames can be used in so many ways! I really did have fun with this set and hopefully you'll love it as much as I did!