Friday 26 February 2021

Two Ways with Shimmer Powders - Tonic Studios Stamp Club Compassion and Poppies (affiliate)


If you want a quick burst of colour on your cards, Shimmer Powders are just the thing! I've used them to colour the poppies from the new Tonic Stamp Club. You can use them to create complete backgrounds or, as I have done here,backgrounds in specific areas which you can then stamp onto. You can use the backgrounds to die cut from too! As you can see from the photo above, they are ideal for making batches of card as you can prepare several pieces if card at the same time.

You can go to the Stamp Club with my affiliate links here -

🛒UK - https://bit.ly/3dOOEN1 🛒USA - https://bit.ly/3dNNKQP

For these cards I have used

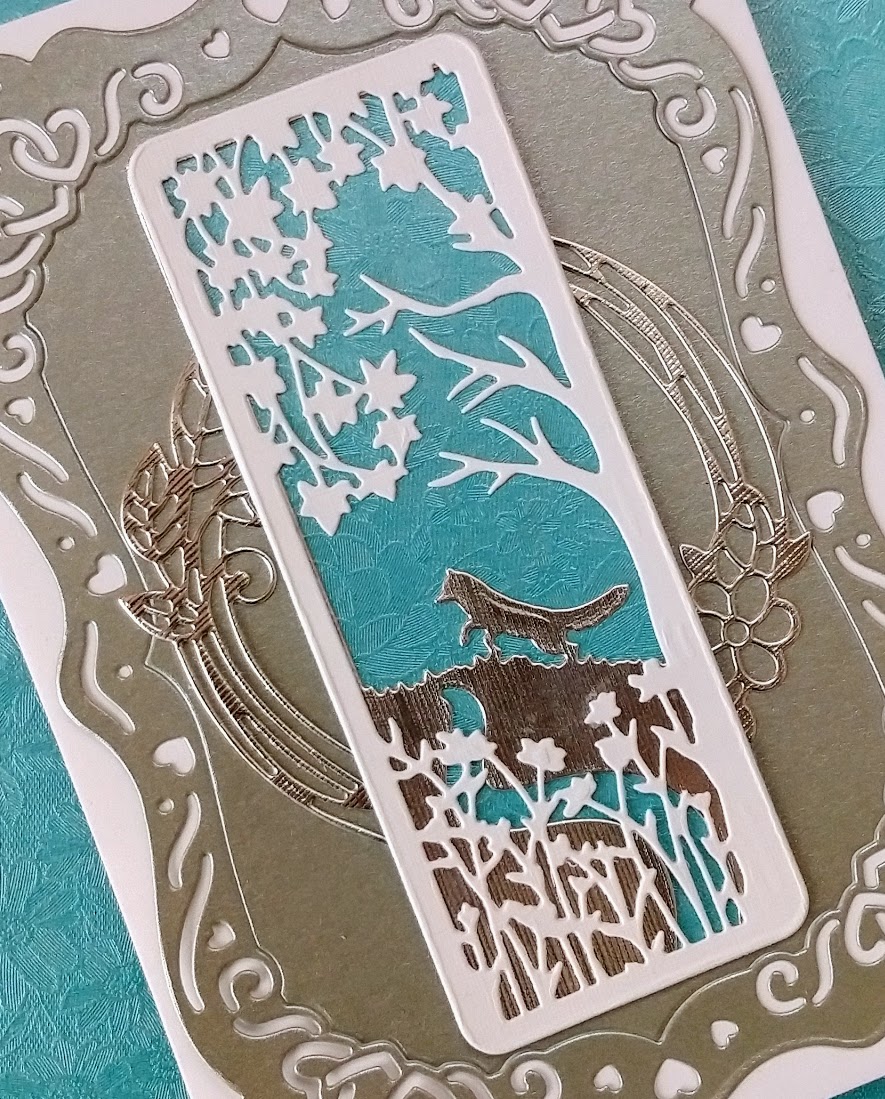
Stamp Club 6 - Compassion and Poppies

Craft Perfect 6x6 card blank

Craft Perfect Bright White Smooth card

Craft Perfect Chilli Red and Jet Black card

Shimmer Powders - Catherine Wheel and Falling Leaves

Nuvo Deluxe Adhesive

Prickly Pear Sequins

Pioneer Green Vintage Drops

Black ink

Nuvo Light Mist Spray Bottle

Hole Punch

Ribbon


Let's get started!

1. Cut a 13.5cm square of white card and gently tap a little Catherine Wheel Shimmer Powder on the top and a little Falling Leaves Shimmer Powder on the bottom. I always do this inside a cardboard box to keep my desk clean.


2. Gently mist with water


3. Tap some of each colour onto pieces of white card to die cut for the tag.


4. Spray with water.


5. Set aside to dry or use a heat gun.


6. Stamp the poppies, draw stems and stamp the leaves. I have used a Stamping Platform to keep everything in the correct position. I also masked off a little part of the bottom of the leaves by covering the unwanted fronds with masking tape, adding the ink and removing the masking tape before stamping. You can also use a light fixative such as hairspray to set the powders so that you can carry on without waiting.


7. Stamp the sentiment onto white card, cut into a banner shape and attach with 3D foam pads. Layer the background onto a 14.5cm square of red card. 


8. Layer onto the card front and add sequins.


9. Die cut the leaves and 2 poppies from the prepared card and the stem from black card.


10. Die cut the tag shapes from the frames in the die set in red and white card. Die cut the 2 small flower shapes from black card.


11. Snip the stem into 2 pieces and glue to the tag.


12. Shape the leaves and poppies with an embossing tool.


13. Glue the flowers to the stems.


14. Add Vintage Drops to the centres of the flowers and sequins around the poppies. Punch a hole and add ribbon.


Thursday 25 February 2021

Weekender Deals at Tonic Studios - affiliate


 It's time for the Weekender Deals from Tonic!

Here are my affiliate links if you'd like to check out the bargains -
This card shows off the Jade Fountain and Falling Leaves Shimmer Powder as a background (simples to make!) and the outside layer is Sage Roses Speciality card :)
There's a beautiful selection of Card and Paper which is 1/2 Price!
45% off 6x6 Card packs
42% off a Nuvo Drop Selection
25% off a Glitter Marker selection
45% off a Glacier Paste selection and 35% off a Shimmer Powder selection!

Tuesday 23 February 2021

Mid week deals at Tonic Studios (affiliate)


The Mid week deals are up on the Tonic websites. If you'd like to have a little look these are my affiliate links -

As you can see there's up to 75% off !
A Mystery Die Bundle as £25./$25 rrp £100/$100
70% off Patterned Panels
65% off the Cantilever Creator die set
60% off Landscape Silhouette collection
and deals on adhesives!


Tuesday 16 February 2021

Tonic Studios Showcase 5 - Picnic Season Gift Box die set (affiliate)


It's release day for the new Tonic Showcase! I love this one - the Picnic Season Gift Box :) Here are my affiliate links if you want to have look :)
When I saw the shape of the lid I thought it would make a cute little house and I used the tag die for the door and the handle die for the curtain :)

I have a video on my YouTube channel showing how to make up the gift box and also a little tag holder with the same dies :)


Tonic Studios Showcase 5 - Picnic Season Gift Box Die Set (affiliate)


Tonic's latest Showcase die set, Picnic Season Gift Box is so cute! It does actually look like a little hamper and I could just imagine heading off into the sunshine with it full of treats :)
These are my affiliate links to the die set - 

I have created a few different ideas with this set as you can see if you visit my YouTube video, but in this example I am showing you how to assemble the pieces and how the different pieces go together.

These are the dies you will find in the set.

To make this little box you will need
Craft Perfect Kraft card
White card
Pistachio Green card
Butermilk Crystal Drops
Nuvo Deluxe Adhesive
Rustic Rose 6x6 paper pad

How to make it
1. Cut out 2 of the main gift box pieces in kraft card.


2. Die cut 2 patterned panels for the sides and using the 2 dies shown create panels for the front and back from white card.


3. Glue these pieces onto the kraft gift box sides.


4. Glue the bases together and add glue along the side tabs.


5. Attach the tabs to the inside edges of the box.


6. Die cut the lid from kraft card and the decorative panels from white card using both dies shown.


7. Glue the decorative pieces onto the lid and add glue onto the tabs on ONE side only.


8. Attach the glued tabs to the inside edges of the box at the back, leaving the front open.


9. Die cut the plain handle from kraft card and the decorative handle from white card. Glue these together and glue to the tabs at each side of the lid.


10. Die cut the tag pieces as shown, from kraft, green and white card and layer together. Cut out 4 leaf sprigs and using both dies shown, die cut 2 white flowers.


11. Attach the flowers and leaves to both sides and add Crystal Drops.


12. Attach the tag to the handle with twine and add extra Crystal Drops to the flowers on the white panels.


Monday 15 February 2021

Making a card with Tonic Studios Dream Drops! (affiliate)


I've made this card using the gorgeous Dream Drops from Tonic Studios in a few different ways to show their versatility and you can follow the steps below to make it for yourself :)

Tonic have a Big Drop Sale on during the month of February and these are my affiliate links which will take you straight to the deals -

These affiliate links will take you to the Decadent Swirls die set - 

Dream Drops are available in 40ml bottles and are iridescent and self levelling. The colour from each bottle will look different depending on the colour of card used underneath so I have used them on both black and white here to show this effect. They can be used in many different ways eg to create backgrounds, to add dimensional "dots" on a card and if you have a steady hand you can even write with them.

To make this card you will need
Craft Perfect 6x6 Bright White card and envelope
Craft Perfect White and Black Smooth card
Dream Drops - Dragon Scales, Gold Luxe, Cloud 9, Love Potion and Fairy Wings
Tonic Studios Showcase  Decadent Swirls die set 
Craft Perfect Silver Silk Speciality card
Double sided adhesive tape

How to make it
1. Cut a 13cm square of black card and add Dragon Scales, Gold Luxe and Cloud 9 Dream Drops randomly over it.


2. Stipple with your finger and set aside to dry (or if using a heat gun, do not allow the Dream Drops to bubble)


3. Die cut the shape shown, trim to 13cm and add Love Potion Dream Drops. Stipple with your finger.


4. Die cut the matching patterned die from white card.


5. Leave the Dream Drops to dry then glue the patterned die cut on top.


6. Layer the Dream Drop background onto a 14cm square of Silver Silk card and attach this to the card front. Glue the 2 decorative die cuts on top and die cut the sentiment from white card.


7. Die cut the backing plate for the sentiment from white card and add Love Potion Dream Drops. Stipple with your finger.


8. Attach the sentiment to the card with 3D foam pads. Die cut the decorative strip again, trim and glue across the bottom of the card. Add Love Potion Dream Drops to the top die cuts.


9. Add more Dream Drops to the sentiment and the die cut at the bottom.


10. Allow to dry and admire the sheen! 


Thursday 11 February 2021

Tonic Studios Designer's Choice No. 16 - Vibrant Votive Holder tutorial and video (affiliate)


Designer's Choice no.16 from Tonic (Vibrant Votive Holder) is available to buy now!
🛒USA - https://bit.ly/3pa4CTN (affiliate links)
These dies can be used to make a few different sizes of holders, a gift tag pocket and cards.
They are limited stock so please be sure to check out if you are interested.


These are the dies in the set.

How to make the 4 sided votive holder
1. Die cut 2 of the die shapes shown. You will need to cut the plain outline first and ten insert the pattern die and cut again.

2. Use the smaller outline die to cut out 2 pieces of speciality paper.

3. Die cut 2 squares and one handle.

4. Glue the speciality paper panels onto the copper panels.

5. Glue to to square as shown.

6. Glue the other tab onto the square.
Repeat with the 2nd side and glue the sides together.
 
7. Bend the handle with a bone folder.

8. Glue the handle to the sides of the box.

9. Glue the other square inside the box to cover the tabs at the bottom.


Some other ideas with the die set.