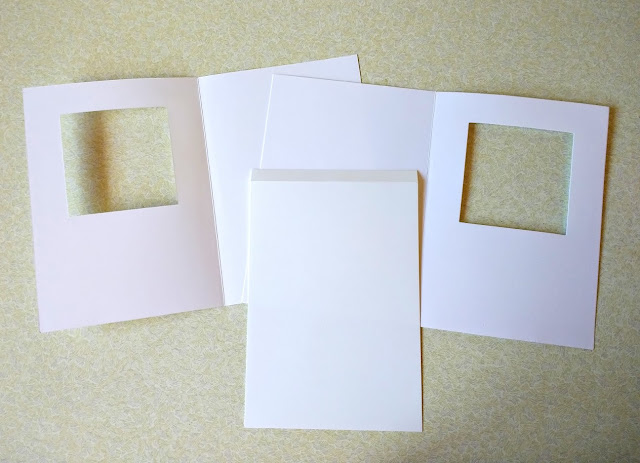
I've used 2 Dovecraft aperture cards as the base for this layered card with Trimcraft First Edition "Perfect Christmas" papers and Build a Scene dies.
You can see how to make it below. Enjoy :)
You will need:
2 Dovecraft 5 x 7 square aperture cards
Dovecraft A4 luxury heavyweight card - white
Trimcraft First Edition Perfect Christmas 8x8 paper pad
Dovecraft brown foam
Trimcraft First Edition Build a Scene Log Cabin dies FEDIE249x18
Trimcraft First Edition Sentiments Traditional FEDIE254x18
Dot & Dab white glue
Dot & Dab double sided tape
Dot & Dab foam tape
Dovecraft Crystal Glitter Glue
Dovecraft Christmas washi tape
How to make it:
1. Take 2 5x7 square aperture cards. Fold one back to front as shown. Cut a piece of white card measuring 12cm x 18.5cm. Score and fold at 1cm on the long side.
2. Attach the 1cm flap to the outside back of the left card with double sided tape.
3. Glue the back of the right card over the back of the left card to create the new card shape in the photo.
4. Attach a 11.5cm x 17cm piece of green patterned paper to the centre flap. Cut a piece of snowman paper measuring 12cm x 17cm, hold in place on the right card front with masking tape and mark the aperture. Cut out the aperture with a craft knife and attach the paper to the car front with double sided tape. Repeat with the green patterned paper on the opposite card front.
5. Die cut the low snow mound, snowman and tree and glue around the front aperture as shown.
6. Die cut two sets of mountains and a snow mound and glue to the left front as shown.
7. Die cut the cabin from white card, glue to brown foam and cut around the outside. Reattach the snowy roof.Glue to the front of the card. Add glitter glue to the snow, tree, snowman and cabin roof.
8. Die cut the mountains and cabin again and glue to the inside flap.
9. Add Christmas Tree washi across the card panels and glitter glue to the die cuts.
10. Add Christmas Tree washi tape across the inside panel as well.
11. Add a strip of Best Wishes washi tape across the top of the centre panel.
12. Add some Simply Creative 3mm gems to the snow and "sky". Die cut the Merry Christmas and glue below the cabin on the card front.


Another great card. Thank you again!
ReplyDelete