Tuesday, 19 April 2016

How to make a surprise pop up inside card - Trimcraft Pick 'n' Mix

Trimcraft's beautiful new Pick 'n Mix papers are very vibrant and colourful - just the thing for happy occasions! I've chosen turquoise themed papers from the pads to make a birthday card which also uses Trimcraft First Edition dies to give a 3 dimensional effect inside.

What you will need:
Trimcraft First Edition Pick n Mix 12 x 12 paper pad
Trimcraft First Edition Pick n Mix 6x6 paper pad
Trimcraft First Edition Pinking Edge Nesting dies
Trimcraft First Edition Under the Sea dies
Trimcraft First Edition Modern Sentiment dies
Trimcraft First Edition Speech Bubble dies
Dovecraft 6x6 Polka Dot embossed card
Dovecraft Crafters Glue
Dovecraft Crystal Glitter Glue
double sided tape
white card
die cutting machine

Card front

How to make it:
 1. Cut a piece of double sided patterned paper from the 12 x 12 pad to measure 14.5cm x 29cm and fold down the middle.

 2. Fold the paper in half and secure the largest nesting die over the fold so that half of the die is over the fold as shown.

 3. Place the plates of your die cutting machine over the paper with the folded part facing into the machine. Make sure the outside left edge is just outside the edge of the top plate so that it does not get cut.

 4. Pass through the die cutting machine. The top and bottom of the die will have cut through but not the left and right sides. Score and fold the cut part into the centre as shown.

5. It will now look like this from above.

 6. Open flat and centre the die which is 2 sizes smaller before passing through the machine. Save the piece which is cut out.

 7. Add a bead of glue along the edges as shown.

8. Fold the 6x6 card almost in half and slip the insert inside. Close tightly to secure the glue.

 9. Glue the reverse side of the piece which was cut directly inside the aperture.

 10. Cut out "Fab" from the Modern Sentiment die set, fold in half and glue into the centre. Die cut the seahorse, octopus, crab and seaweed and glue to the aperture as shown. Cut out the dolphin and ball and glue to the left side of the card.
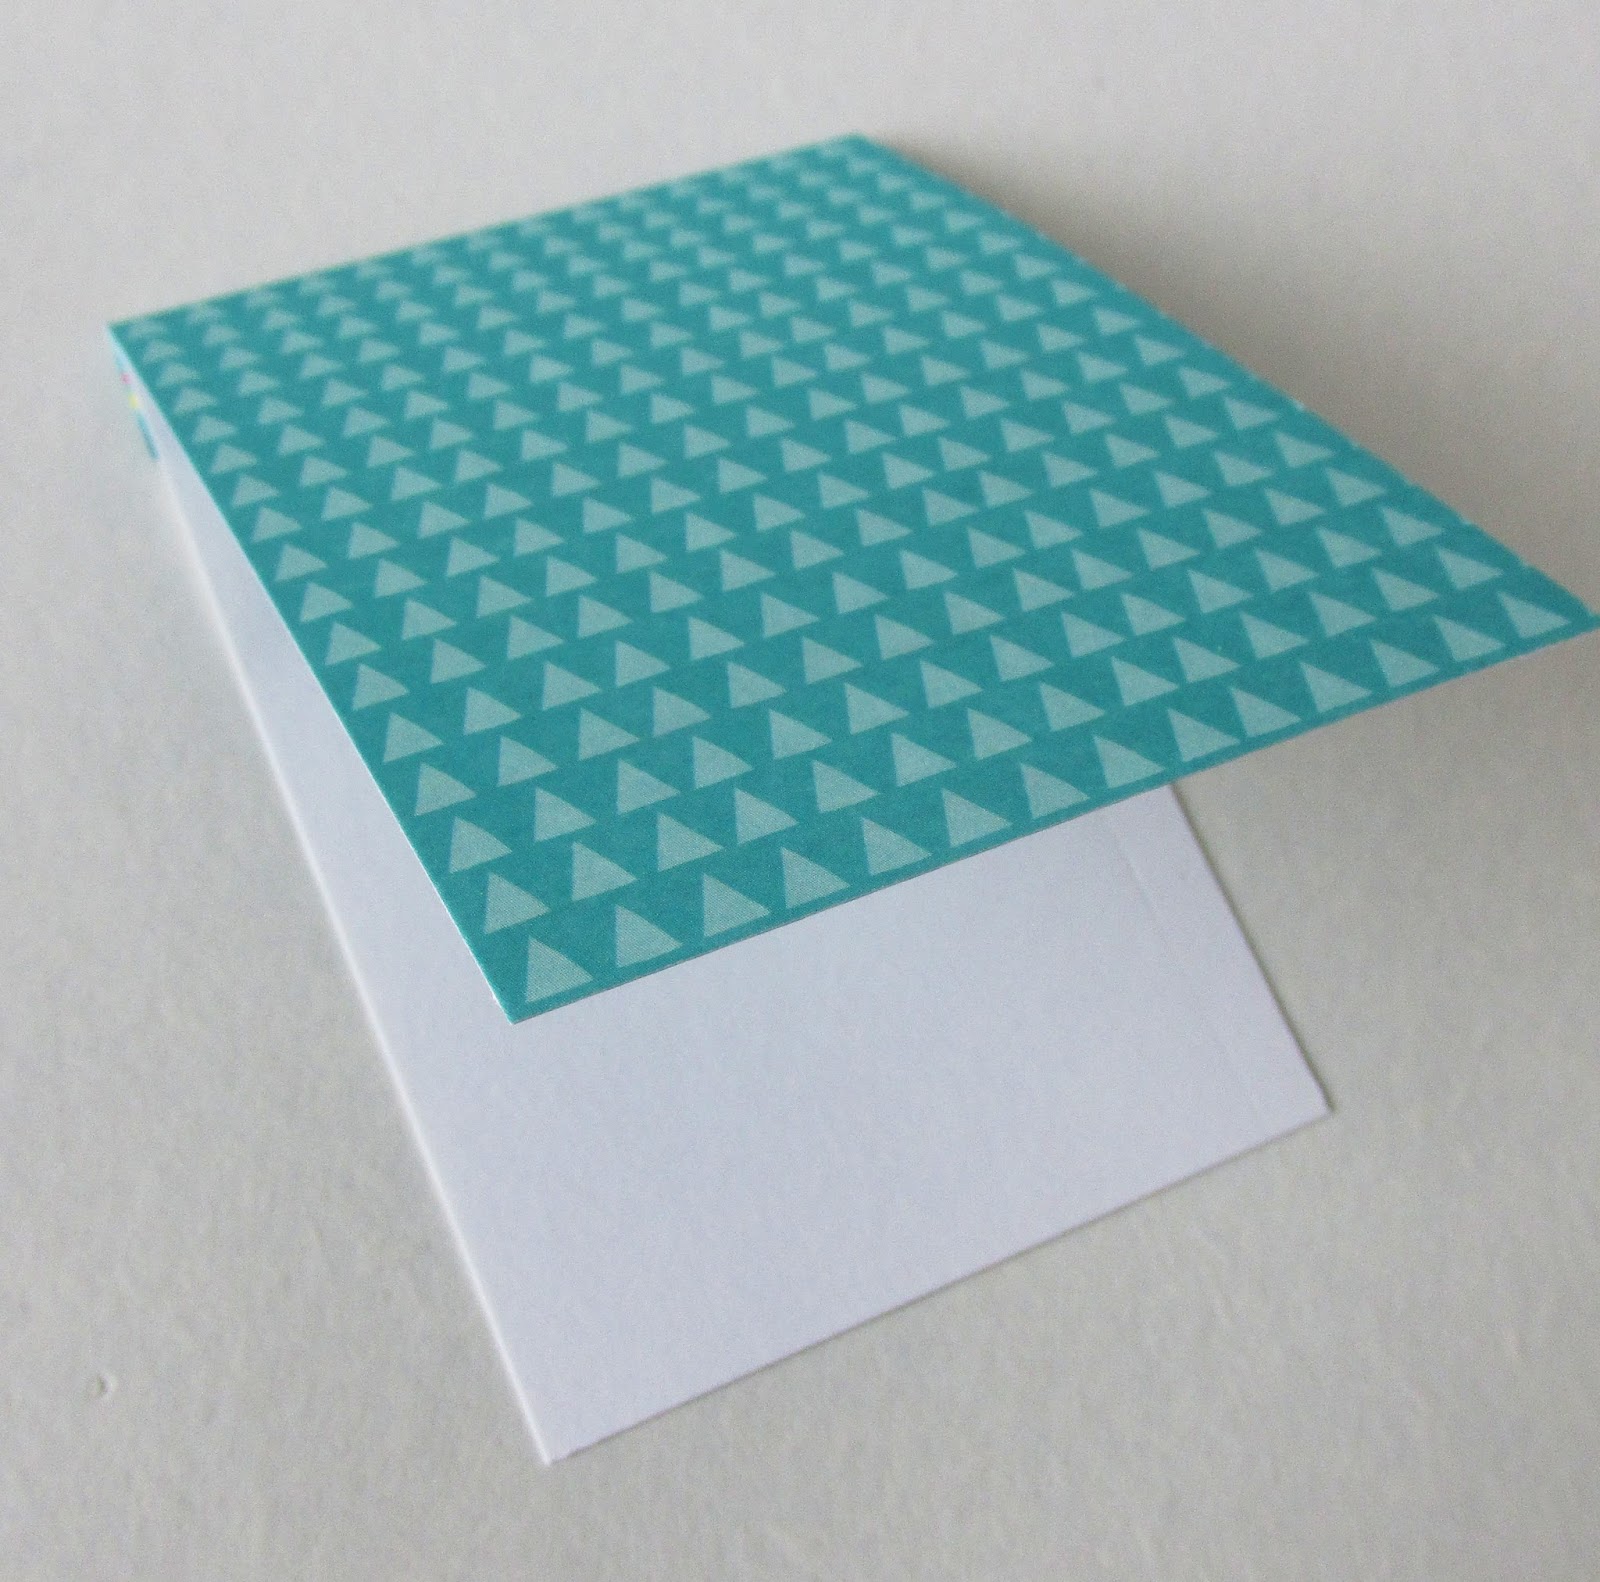
 11.Cut a piece of white card to 7cm x 9.5cm and a piece of patterned paper to 7cm x 10.5cm. Fold 1cm over at the top of the patterned paper and glue to the back of the white card.

 12. Attach this panel to the inside right of the card with a seaweed die cut on top. Add glitter glue to all the die cuts.

Card front;
13. Cut a piece of turquoise paper from the 6x6 pad to measure 12cm x 12cm and a piece of  brightly coloured paper to measure 11.5cm x11.5cm. Attach the coloured paper to the turquoise paper with double sided tape. Attach this panel to the card front with double sided tape.

14. Use the speech bubble die to cut two shapes - one from white card and the other from turquoise paper. Use the turquoise inner and the white outer (you can save the other pieces for another project). Glue the Birthday sentiment on top.


My First Groovi cards

 Well, my Groovi Starter Kit plus a few extras arrived yesterday and I have been having a play :)
I know my first attempts are not perfect but I thought I should share them anyhow to show you how easily you can make cards etc using these fantastic plates. I have combined these with Tonic STudios dies as I'll be demoing both at the Belfast Craft Show next week.

For my first card I used the two different plates which come with the starter kit and coloured the back with colouring pencils.
I used Tonic Studios Scalloped Circle Layering Dies, Have a Beautiful Day dies (Sew Pretty) and Entwining Trellis Radiant Roselily dies.


 This time I used images from the Starter kit and also the Meadow Grasses plate. I've used Tonic Studios Scalloped Square Layering dies, Filigree Flourish and Cherish the Moment (Sew Pretty) dies.


 For this card I used the Groovi Starter kit and Nested Circles plate - coloured on the back with colouring pencils. I've also used Tonic Studios Scalloped Square Layering dies and Decorative Mini Floral Fancy die cuts.


 For this card I've used the Groovi Meadow Grasses plate and added some Tonic Studios Crystal Drops. I've added Tonic Studios Essentials Just for You die cuts.


Monday, 18 April 2016

Getting Groovi :)


The postie has just been and now I can show you something else I'll be demoing at Crafting LIVE. in the Titanic Exhibition Centre, Belfast - the Groovi kit by Claritystamp! I can't wait to get this kit opened and have a play. I'll be back later to show you what I've done 
smile emoticon

Belle and Boo scrapbook page


Trimcraft's new Belle and Boo collection includes a beautiful Scrapbook Album which is perfect for showcasing photos with lots of embellishments from the same range. I've chosen a baby photo for my page.

What you will need:
Trimcraft Belle and Boo Designer Paper Pack (BBPAP004)
Trimcraft Belle and Boo Designer Paper Pack  (BBPAP006)
Trimcraft Belle and Boo Creative Ribbon
Trimcraft Belle and Boo Glitter Dots
Trimcraft First Edition Princess dies
Trimcraft First Edition Border dies
Trimcraft First Edition Wedding dies
Trimcraft Simply Creative Heart Buttons (pink)
Trimcraft Simply Creative Paper Blossoms (pink and white)
Trimcraft Simply Creative Round Gems 
Dovecraft Back to Basics Berry Blush Mini Bunting
Dovecraft Crystal Glitter Glue
Photo
Dovecraft Crafters Glue
Double sided tape

die cutting machine

 1. Select these 2 pages from the 12 x 12 paper pack.

 2. Use the darker page as the background and follow the curves of the pattern on the other page with a large pair of scissors to remove the pieces shown above. Glue these to the background page.

 3. Select these 2 pages from the 6x6 paper pack and trim the spotty piece to 15cm x 15cm and the patchwork one to 14.5cm x 14.5cm. Layer the patchwork piece on top of the spotty paper with double sided tape.

 4. Trim the photo to 10cm x 12cm and a piece of pale pink paper to 10.5cm x 12.5cm. Attach the photo to the paper with double sided tape.

 5. Mount the photo panel onto the patchwork panel with double sided tape and attach this to the centre of the page at an angle with double sided tape.

 6. Cut a length of organza ribbon and glue the Berry Blush Bunting pieces to it. Glue this along the top of the photo, turning the ends of the ribbon in opposite directions and securing with glue and a glitter dot. Die cut the "Princess" from pale paper and glue above the photo to the top left.

 7. Glue three heart buttons to the left side of the photo.

 8. Die cut a border from pale pink paper, glue across the bottom of the photo and add Glitter Dots.

9. Layer two pink paper blossoms with a wooden button and glitter dot and glue to the bottom right of the photo. Add a single white paper blossom to each side and tuck two short lengths of ribbon in behind each.

10. Add a line of glitter glue along all the curvy edges. Die cut 3 of the heart borders and glue the little hearts along the bottom of the top curvy edge.

11. Die cut 2 hearts from the Wedding die set and glue them to the page as shown above. Add gems to the centres of the outline hearts.


Crafting Live, Belfast.


Not long now! Really looking forward to seeing lots of you at the Titanic Exhibition Centre between Thurs 28th April and Sat 30th April. I'll be demoing Tonic Studios again for Crafty Devils Paper Craft. I'm hoping lots of you will be coming from across the border too because as far as I know there will only be one Craft Show each year in Belfast (none in Nov) :)
smile emoticon

Thursday, 14 April 2016

Pick n Mix panda card

 This is one of the cards I made with Trimcraft's brand new Pick n Mix papers - they are really bright and cheerful with some gorgeous black patterned pages which can be used as a contrast.
I've also used Trimcraft's Zoo and Border dies on this easel card.


Tuesday in Dublin - Hands On demo

I was very happy to be taking part on Tuesday in a trade demo day in the City West Hotel in Dublin for my third year.
David and I travelled down with a boot full of products and samples and even managed to squeeze in Rachael and Mandy from Craftworld, Belfast :)

In the morning we had a chance to try out Winsor and Newton's new Brushmarkers and Pigment markers under the expert guidance of Tim Shaw. I absolutely love the Brushmarkers and now that I've had another chance to learn from Tim about the Pigment markers I am definitely very impressed and need to use them more. ..he just made it all look so easy!


Stephane Lafontane (W&N)

I grabbed a few quick photos at lunch time -
 Rachael and Many from Craftworld

 Rachel and Sarah from Cregal Art


 Nora from Mandel's Art Shop


Deirdre

Then in the afternoon, I was demoing lots of new Trimcraft papers, embellishments and other products to groups of shop owners and staff. I had so much to share but I really enjoyed myself and I hope everyone else did too.
I really loved catching up with all the folks from shops all over the country whom I haven't seen for a little while - a lovely day spent with lots of like minded enthusiastic people :)
Unfortunately I was so busy in the afternoon that I didn't get a chance to watch the other demos but I got great reports from David who was gathering info for me on his rounds:)

 I was delighted to have an opportunity to meet up with Katrin from Plaid and get lots of tips and advice.

..last but not least, the lovely Gillian after her last Sculpey demo of the day :)